How to Apply Ceramic Coating at Home: What You Need to Know
So you're thinking about applying ceramic coating yourself. Smart move researching first, because I've seen plenty of DIY jobs go sideways—and fixing them isn't cheap.
I'm a professional detailer here at Fresh Layer in San Diego, and I've applied ceramic coating to over 500 vehicles. I've also fixed dozens of DIY attempts that didn't go as planned. This guide shares what actually works based on real experience, not just theory copied from manufacturer websites.
Here's the truth: DIY ceramic coating can work great if you do it right. But "right" means investing 10-12 hours and really understanding what you're getting into. Most people underestimate how much prep work is involved. The actual coating application? That's maybe 20% of the job. The other 80% is preparation—washing, decontaminating, and getting your paint absolutely perfect.
Let me walk you through the whole process, share the mistakes I see most often, and help you decide if DIY makes sense for your situation. Whether you end up doing it yourself or hiring someone like us, you'll know exactly what's involved.
Understanding Ceramic Coating First

What Ceramic Coating Actually Is
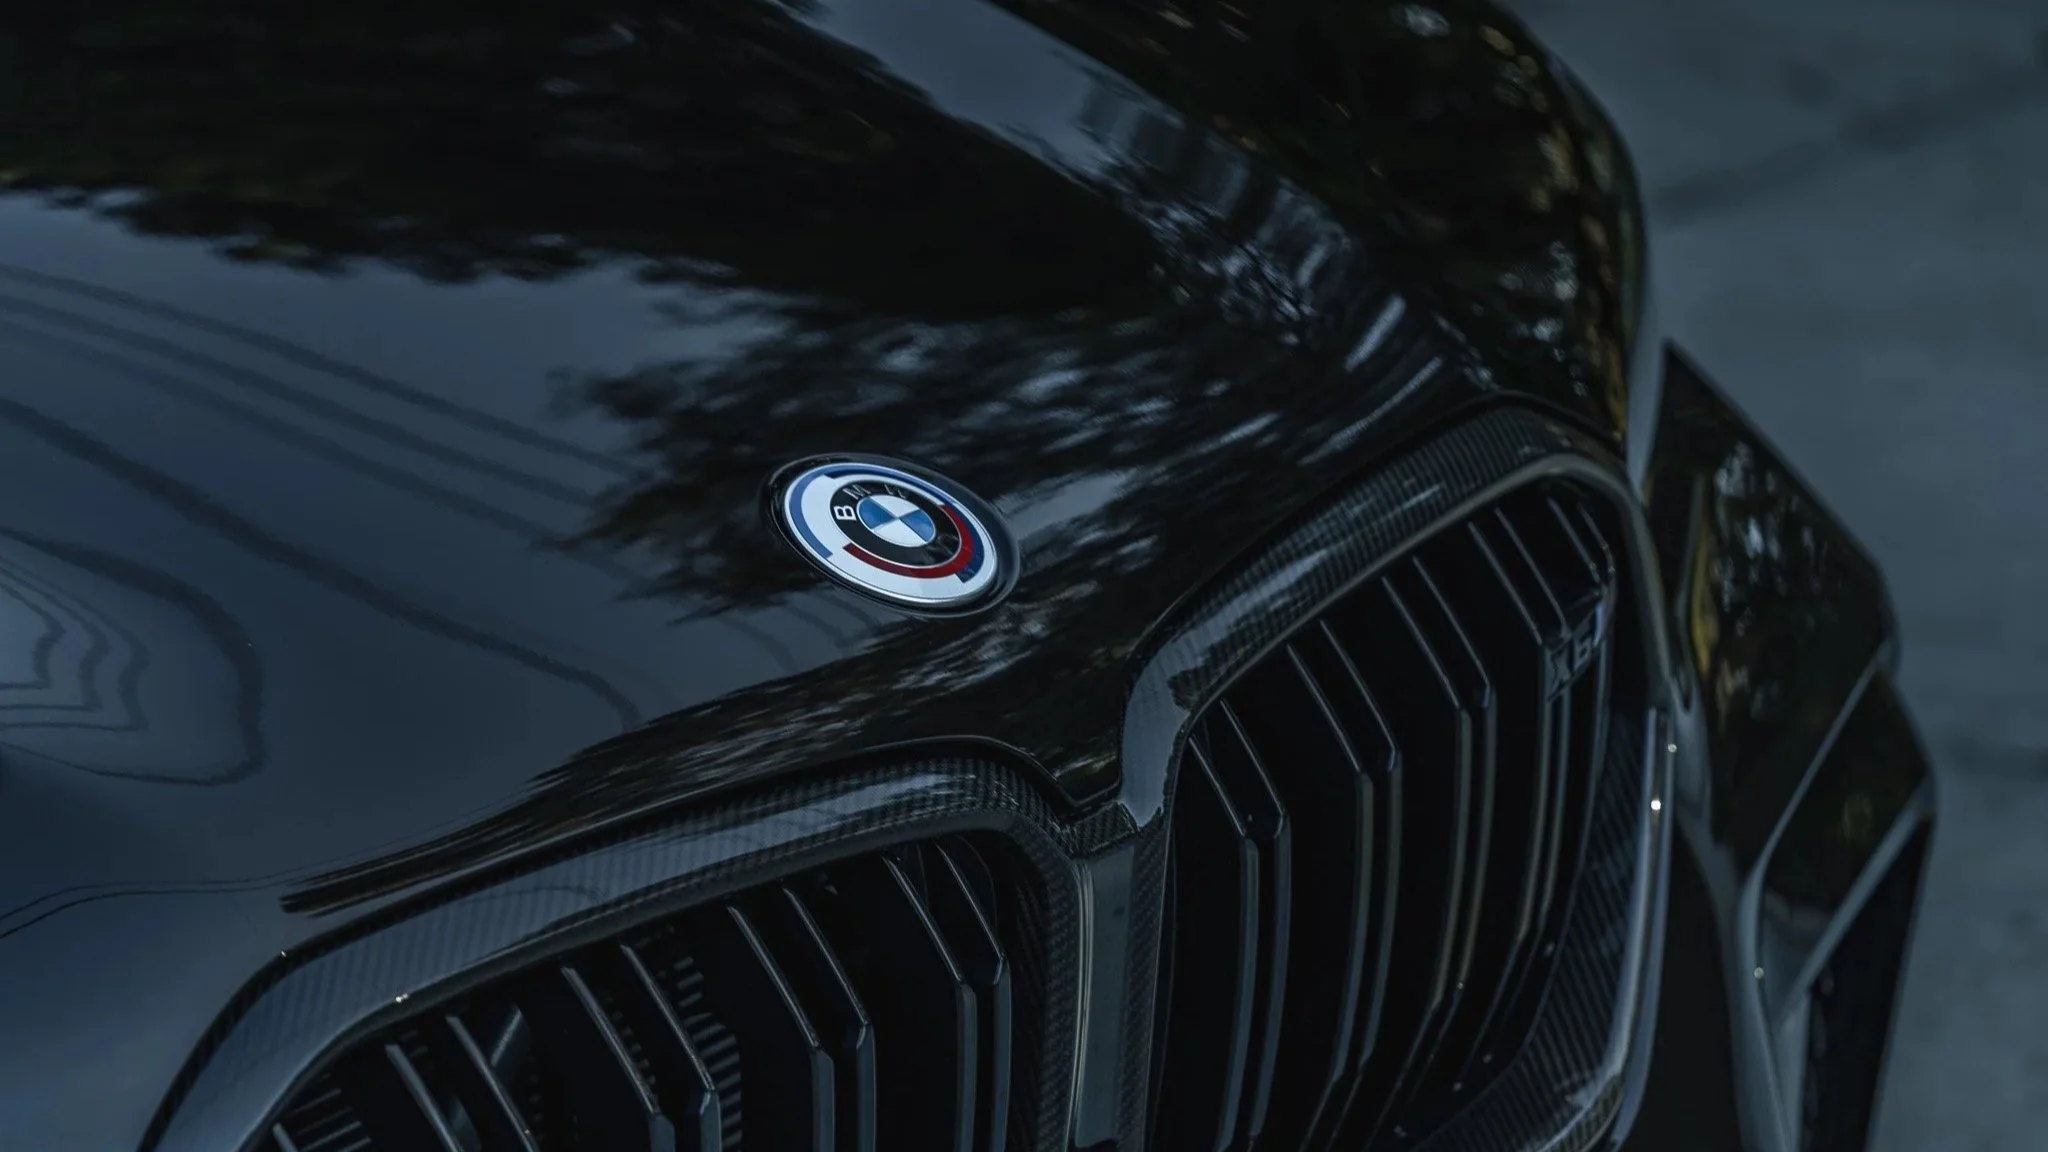
Before we dive into the how-to, let's make sure we're on the same page about what ceramic coating actually is. It's not wax, it's not sealant—it's a liquid polymer that chemically bonds with your car's paint. Once it cures, you've got a semi-permanent protective layer that can last anywhere from one to seven years depending on the quality and how it's applied.
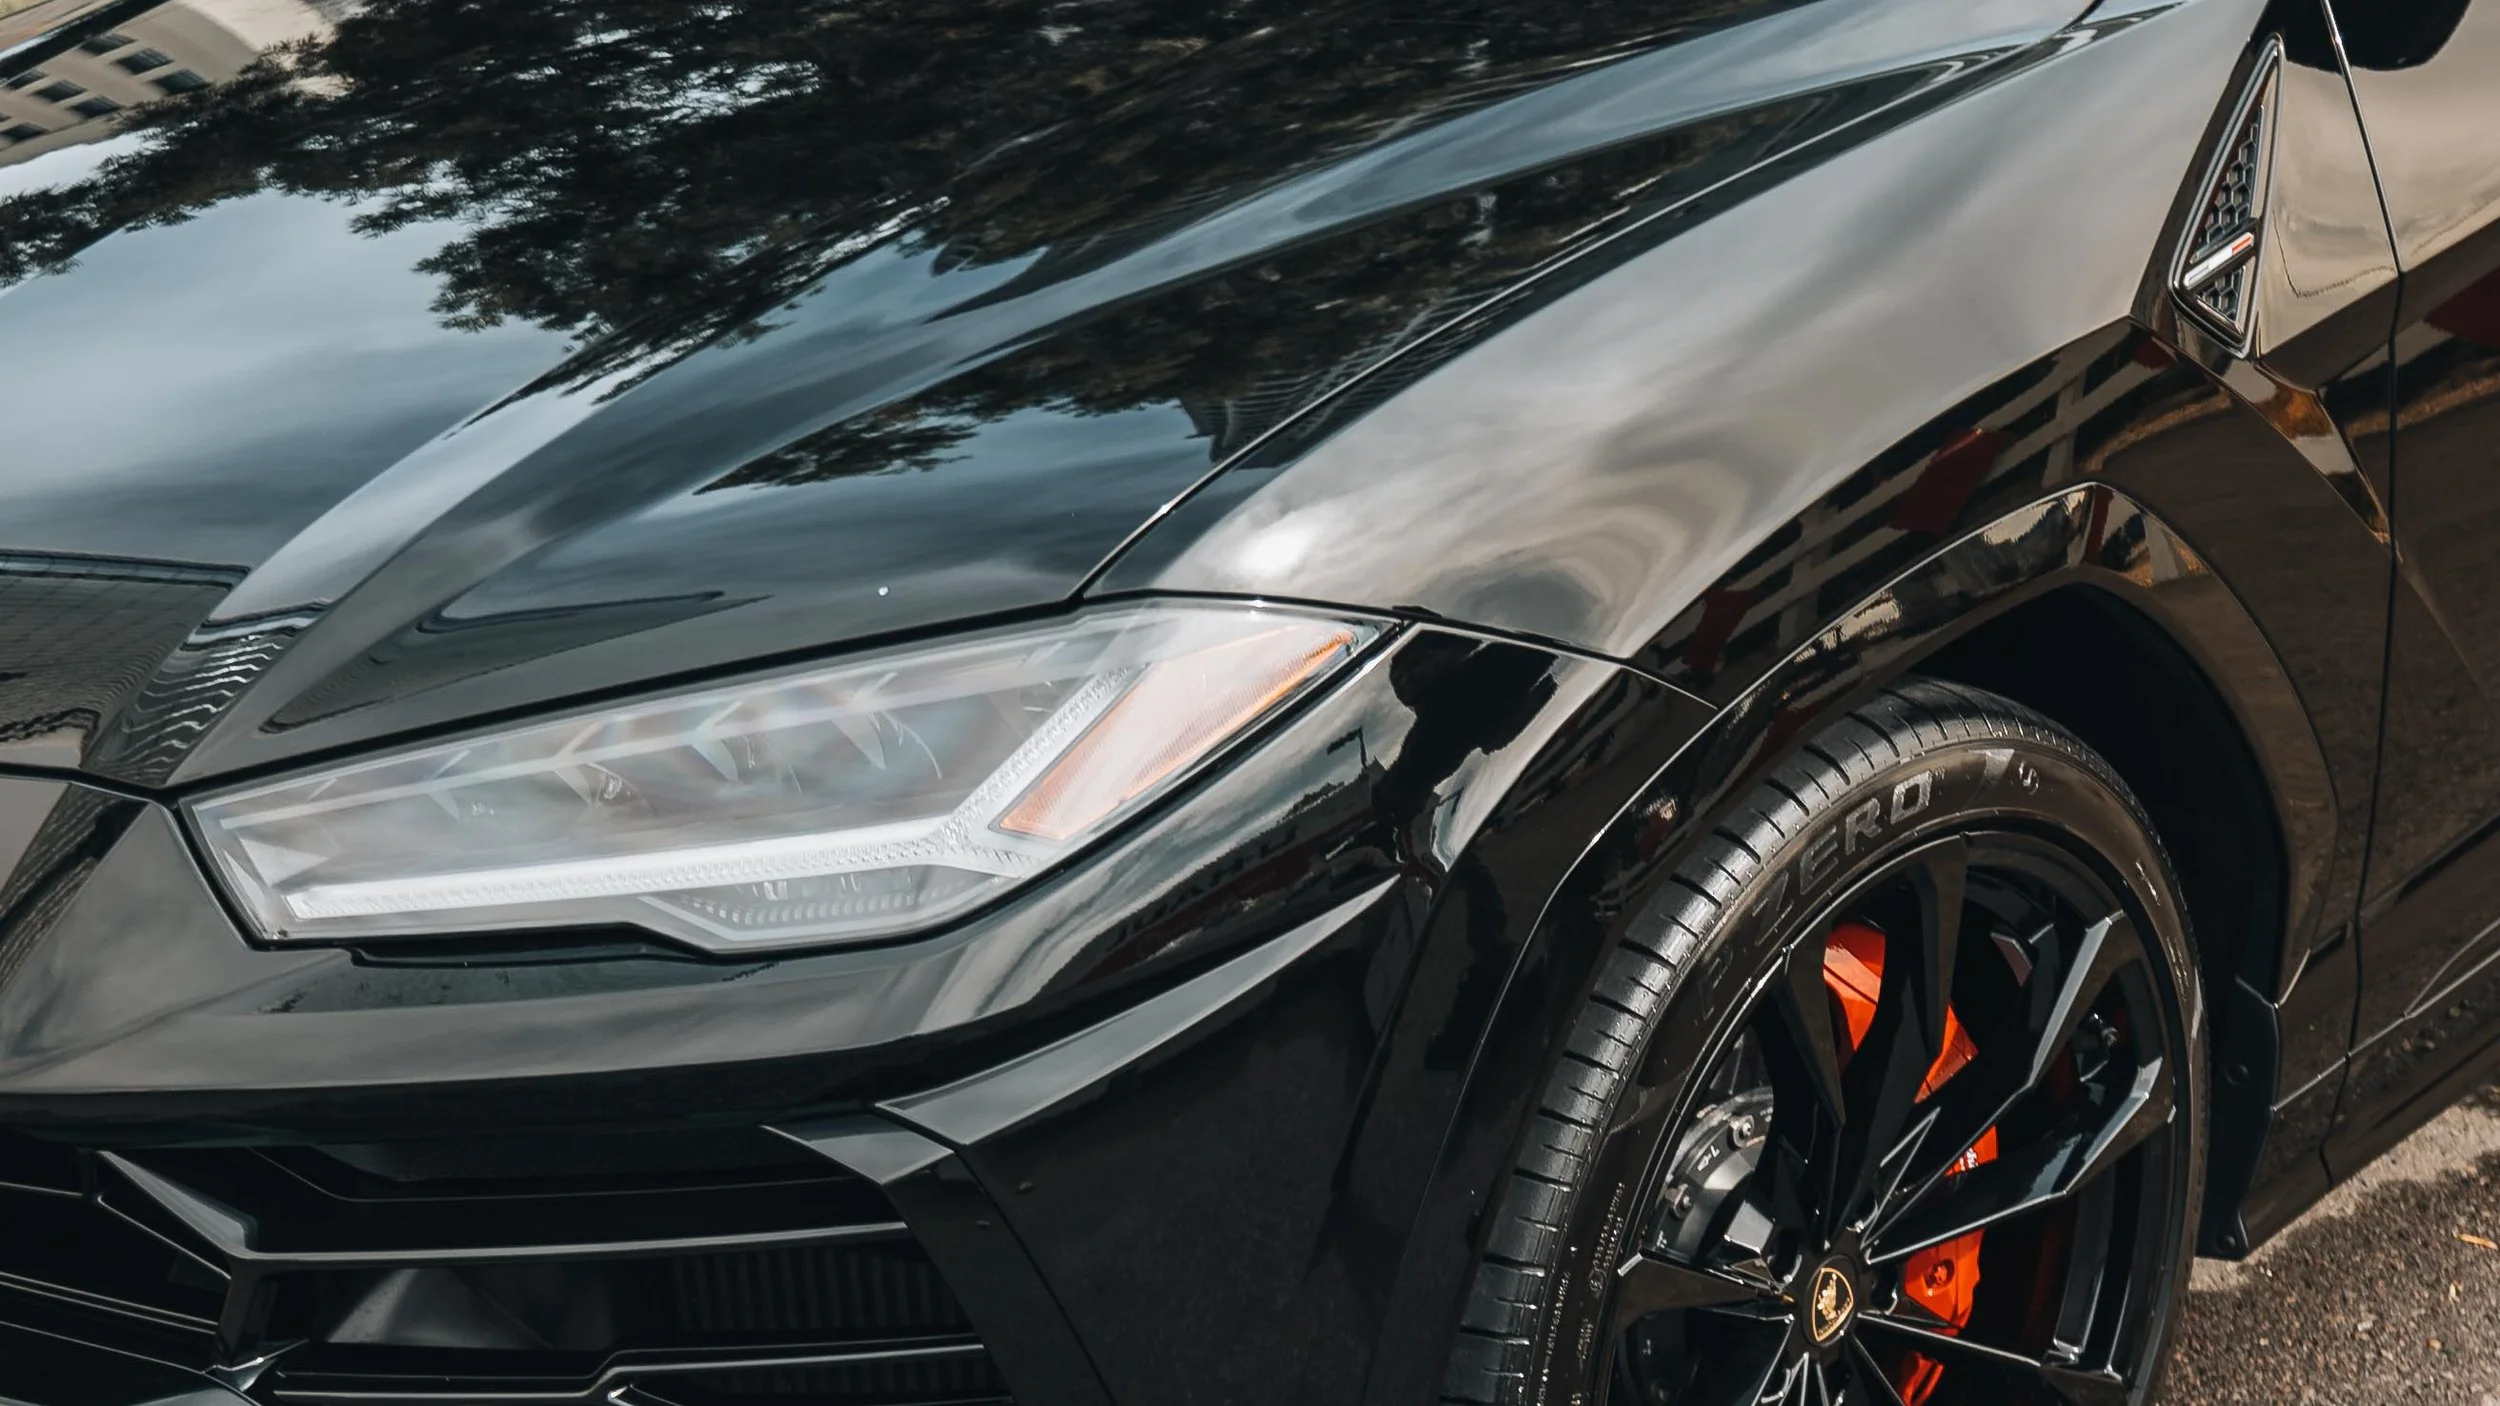
The coating protects your paint from UV rays, bird droppings, tree sap, water spots, and light scratches. It also makes your car easier to wash because dirt doesn't stick as well. And yes, it gives you that deep, glossy shine and water beading effect that looks amazing.
DIY vs Professional Grade Coatings
Now, here's where DIY and professional applications differ. Consumer-grade ceramic coatings (the ones you can buy) typically last one to two years. They're formulated to be easier to apply, which means they're a bit softer than professional-grade products. Professional coatings can last five to seven years because they're harder formulations, but they require more skill to apply correctly and often need special curing with infrared lamps.
The question isn't really "can I do this myself?" but rather "should I do this myself?" For some people and some cars, DIY makes perfect sense. For others, professional application saves money in the long run.
The Real Cost: DIY vs Professional
What You'll Actually Spend on DIY
Let's talk money, because that's probably why you're considering DIY in the first place. A quality ceramic coating kit runs between $80 and $200. Then you need microfiber towels, applicator pads, isopropyl alcohol, clay bar, and pH-neutral car shampoo. All in, you're looking at $250-400 for your first application if you don't already have the supplies.
What Professional Application Includes
Professional ceramic coating? That's typically $800-1,500 depending on your vehicle size and the coating system used. Seems like a huge difference, right?
But here's what that professional price includes: paint correction to remove scratches and swirl marks, professional-grade coating that lasts three times longer, warranty coverage, and proper curing. Most importantly, if something goes wrong, we fix it at no charge.
The Hidden Cost of DIY Mistakes
With DIY, if you make a mistake—and first-timers often do—you're paying to fix it. I've seen people spend $300 on DIY supplies, mess up the application, then pay us $600-800 to correct it and reapply. That's $900-1,100 total, which is more than professional application would have cost from the start.
I'm not trying to talk you out of DIY. I'm just being honest about what you're signing up for. If you're a car enthusiast who enjoys detailing and has a weekend to dedicate to this, DIY can be a great learning experience. If your paint already has scratches or swirls that need fixing, or if your car is worth more than $30,000, professional application usually makes more sense.
Our ceramic coating service starts at $800 and includes everything needed for a proper job. But if you're set on DIY, let me show you how to do it right.
Tools and Materials Needed
To apply a ceramic coating at home, you'll need:
Preparing Your Car: The Part Everyone Rushes
Why Prep Matters More Than Application
This is where most DIY jobs fail. People spend hours researching the coating itself, then rush through prep because they're excited to get to the fun part. Don't do that.
Step One: Thorough Washing
Start with a thorough wash using the two-bucket method. One bucket has soapy water, the other clean rinse water. Wash from top to bottom, rinsing your mitt frequently in the clean water bucket. This prevents you from dragging dirt across your paint and creating scratches. Take your time here—a proper wash takes an hour or two, not 20 minutes.
Step Two: Clay Bar Decontamination
After washing and drying, you need to decontaminate the paint. Even clean paint has bonded contaminants you can't see—industrial fallout, rail dust, brake dust, tree sap. This is what the clay bar is for. Spray the clay lubricant on a small section, then gently glide the clay bar across the surface. You'll feel it grab at first, then smooth out as it removes the contamination. Work the entire car this way, refolding the clay bar to expose clean sections as it gets dirty.
Here's what I tell people: after clay bar treatment, run your hand across the paint. It should feel like glass. If it feels rough or you can feel any texture, keep claying. The coating will seal in whatever's on the surface, so this step matters more than you think.
Step Three: Paint Correction Decision
Now comes the tough decision about paint correction. Take your car outside in direct sunlight or use a bright LED light to inspect the paint. Do you see swirl marks? Scratches? Dull spots? If yes, those imperfections will be permanent once you apply ceramic coating. The coating doesn't fill or hide defects—it actually makes them more visible by adding gloss.
This is the point where a lot of DIY projects should become professional jobs. Paint correction requires skill and proper equipment. We use $3,000 polishers and years of experience to safely remove defects. A DIY attempt with a Harbor Freight polisher often creates more swirls than it removes.
If your paint is already in good shape—maybe it's a newer car or was recently detailed—you can skip correction. But if you're seeing defects and want them gone, seriously consider having a professional handle the paint correction before you apply the coating yourself. It's not an all-or-nothing decision.
Step Four: Final Surface Prep
The last prep step is the IPA wipe-down. This removes any oils, polishes, or residues that would interfere with coating adhesion. Spray isopropyl alcohol on a section, wipe with a clean microfiber towel, then immediately wipe dry with a second towel. Do the entire car this way. The paint should feel squeaky clean—literally. If you spray water on it, the water should sheet off completely, not bead. Any beading means there's still wax or sealant present.
Applying the Coating: Take Your Time

Getting Your Environment Right
Here's where people get nervous, but the application itself is actually straightforward if you've done the prep right. The key is working in small sections and maintaining consistency.
Before you start, make sure you're working in the right conditions. You want to be indoors if possible, with temperatures between 60-80 degrees. Too hot and the coating flashes (starts curing) too fast. Too cold and it won't bond properly. No direct sunlight on the paint. Good lighting is critical so you can see what you're doing.
The Application Technique
Work panel by panel—hood, roof, doors, fenders. Within each panel, work in roughly two-foot-by-two-foot sections. Put 3-5 drops of coating on your applicator pad. Spread it in overlapping passes, first horizontal then vertical. You're not buffing or applying pressure—just spreading the coating evenly.
Recognizing the Flash and Buffing
Watch for the coating to "flash." This is when it starts to look like it's evaporating and you'll see a slight rainbow effect. Most coatings flash in one to three minutes, but check your product instructions. When you see the flash, it's time to buff.
Use a clean microfiber towel and gently buff the surface with light pressure. You're removing the excess coating and leveling it. Switch to a fresh section of towel frequently—you don't want to drag cured coating across the paint. As you buff, look for high spots. These show up as shinier areas or spots that look slightly different. If you see them, buff a bit more until everything looks uniform.
How Much Product to Use
The biggest mistake I see? People apply too much product. More is not better with ceramic coating. You want a thin, even layer. If you put too much, you'll get thick spots that are hard to remove and look uneven. Start with less product than you think you need—you can always add more.
Work systematically through the entire vehicle. Don't rush, but don't work so slowly that the product cures before you can buff it. Find a rhythm and stick to it.
Should You Apply Multiple Layers?
Some products allow a second layer after an hour or two. For first-time DIY, I'd skip the second layer. Get one perfect coat down. If you want multiple layers for added durability, that's where our professional service really shines—we apply two or three layers with proper curing between each coat.
Curing: The Part You Can't Rush
The Critical First 48 Hours
This is where a lot of DIY jobs fail, even after perfect application. The coating isn't durable until it's fully cured, and that takes time. Most coatings need 24-48 hours to cure enough that you can drive the car, but they continue curing for 7-10 days.
During those first 48 hours, keep the car completely dry. No rain, no washing, no dew if you can help it. Park it in a garage or covered area. Don't drive it if possible. I know that's tough, but if the coating gets wet before it's cured, you can get water spotting that's permanent.
The Full Curing Process
After 48 hours, you can drive it, but still avoid washing for at least a week. When you do wash, be gentle. Use pH-neutral shampoo and soft microfiber mitts. No automatic car washes.
Professional shops use infrared curing lamps that cure the coating in a few hours under controlled conditions. That's one advantage of professional application—we can guarantee proper curing regardless of weather. But if you're DIY and patient, natural curing works fine.
Maintaining Your Coating

Regular Washing Technique
Once it's cured, ceramic coating is pretty low-maintenance, but you do need to take care of it properly. Wash your car every couple weeks using pH-neutral shampoo and the two-bucket method. Don't use dish soap—it's too harsh and will degrade the coating faster.
Avoid automatic car washes. The brushes can scratch the coating, and the harsh chemicals many use aren't coating-friendly. Hand wash or touchless washes only.
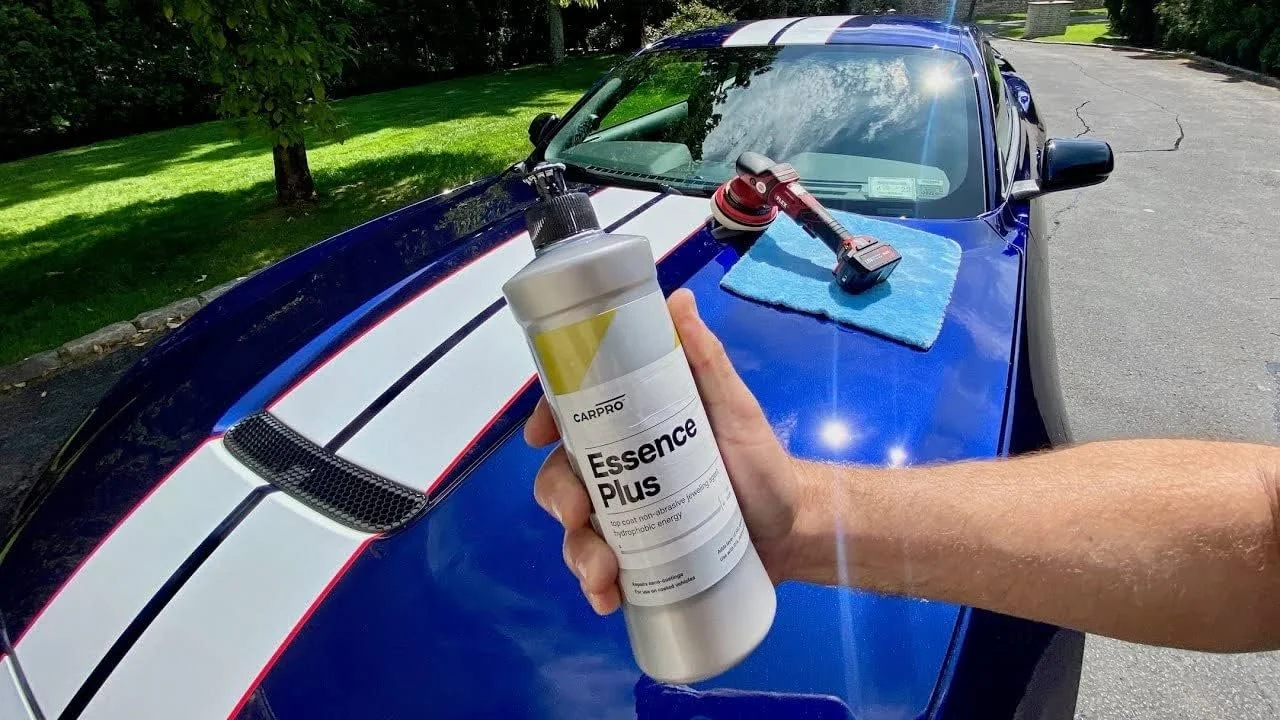
Applying Coating Boosters
Every few months, apply a ceramic spray booster. Products like CarPro Reload or Gtechniq C2V3 rejuvenate the hydrophobic properties and add a bit of protection. They're cheap—$15-30 a bottle—and take 20 minutes to apply.
When to Reapply
Your DIY ceramic coating will typically last 12-24 months with good maintenance. When you notice water doesn't bead as well anymore, or the paint starts feeling rougher even after washing, it's time to reapply. You'll need to either use a coating stripper or do a light polish to remove the old coating before applying fresh coating.
Compare that to professional ceramic coatings that last five years or more. Over five years, you'd reapply DIY coating three or four times versus once for professional. The costs end up similar, but professional requires way less effort on your part.
Common Mistakes and How to Avoid Them
Mistake One: Skipping Proper Prep
I've fixed enough DIY ceramic coating jobs that I can predict the mistakes before I see them. The most common? Not prepping the surface properly. People skip the clay bar, or they don't do a thorough IPA wipe, or they don't remove all the old wax. Then the coating doesn't bond right and starts failing within months.
Mistake Two: Wrong Application Conditions
Second most common mistake is applying in the wrong conditions. Someone gets excited and does it in their driveway on a 90-degree day in direct sun. The coating flashes in seconds, they can't buff it properly, and they end up with streaks or high spots. Once the coating cures wrong, fixing it requires paint correction and reapplication. That's a $600-800 fix for most people who come to us.
Mistake Three: Using Too Much Product
Third mistake is using too much product. When people see those YouTube videos of coating being applied, they often miss how little product is actually used. A few drops goes a long way. Too much product means thick spots that won't level properly.
Mistake Four: Sealing In Imperfections
The fourth mistake is sealing in defects. Someone with a car full of swirl marks applies ceramic coating thinking it'll somehow hide them. It doesn't—it makes them more obvious. Then they're stuck with shiny, glossy swirl marks that are now sealed under coating.
Mistake Five: Ignoring Climate Factors
Here in San Diego, I see a fifth mistake: people not accounting for our intense UV exposure. Consumer-grade DIY coatings break down faster in our year-round sunshine. A coating that might last two years in Seattle lasts 12-15 months here. Professional-grade coatings handle UV better, which is why we recommend them for vehicles in harsh sun climates.
When DIY Makes Sense vs When to Call a Pro

Good Situations for DIY
Look, I make my living doing professional ceramic coating, but I'll be honest with you: DIY can work great for the right person and the right situation. If you're a car enthusiast who enjoys the detailing process, your paint is already in good shape, and you've got a full weekend to dedicate to this, go for it. It's a learning experience and you'll save some money upfront.
DIY also makes sense for older vehicles or daily drivers where you're looking for good protection but not necessarily show-car results. If your car is worth $15,000 or less and the paint is already decent, DIY ceramic coating gives you solid protection for reasonable cost.
When Professional Makes More Sense
But there are situations where professional application is the smarter choice. If your car is new or worth more than $30,000, protect that investment properly. If your paint needs correction—scratches, swirls, oxidation—that's really where pros earn their money. We've got the equipment and experience to fix defects safely.
If you live in a harsh environment like San Diego with intense UV, professional-grade coatings last significantly longer. They're formulated to withstand sun and heat better than consumer products. And if your time is valuable—if you'd rather spend your weekend doing something else—then paying for professional application makes sense.
Getting Honest Advice
We offer free consultations where we'll look at your paint, discuss your goals, and give you an honest recommendation. Sometimes we tell people DIY is fine for their situation. Sometimes we explain why professional makes more sense. There's no pressure—we just want you to make the right choice for your car.
FAQs: Applying Ceramic Coating to Your Car
-
When properly applied and maintained, a high-quality ceramic coating can last 1 to 6 years. The longevity depends on factors such as the environment, the quality of the coating, and how well the vehicle is maintained.
-
You can apply the ceramic coating in your home garage, provided it is a clean, controlled environment. For the best results, avoid areas with excessive dust and ensurevels are within the recommended range the temperature and humidity les.
-
Polishing your car before applying the ceramic coating is often recommended, mainly if scratches or imperfections occur. Polishing ensures that the surface is as smooth and clean as possible, which helps the ceramic coating bond effectively and look its best.
-
The best conditions for applying ceramic coating are a clean, dust-free environment with moderate temperatures and low humidity. Avoid using it in direct sunlight or extreme weather conditions.
-
To maintain your ceramic coating, wash your vehicle regularly with a pH-neutral soap, avoid harsh chemicals, and use a soft wash mitt and microfiber towels. You can also apply a ceramic boost spray every few months to refresh the coating’s hydrophobic properties.
Conclusion
Applying a ceramic coating at home can be a rewarding project that protects your car and enhances its appearance. With the proper preparation and careful application, you can achieve professional-quality results. Whether you choose to DIY or go for a professional application depends on your comfort level and vehicle condition.
About Fresh Layer
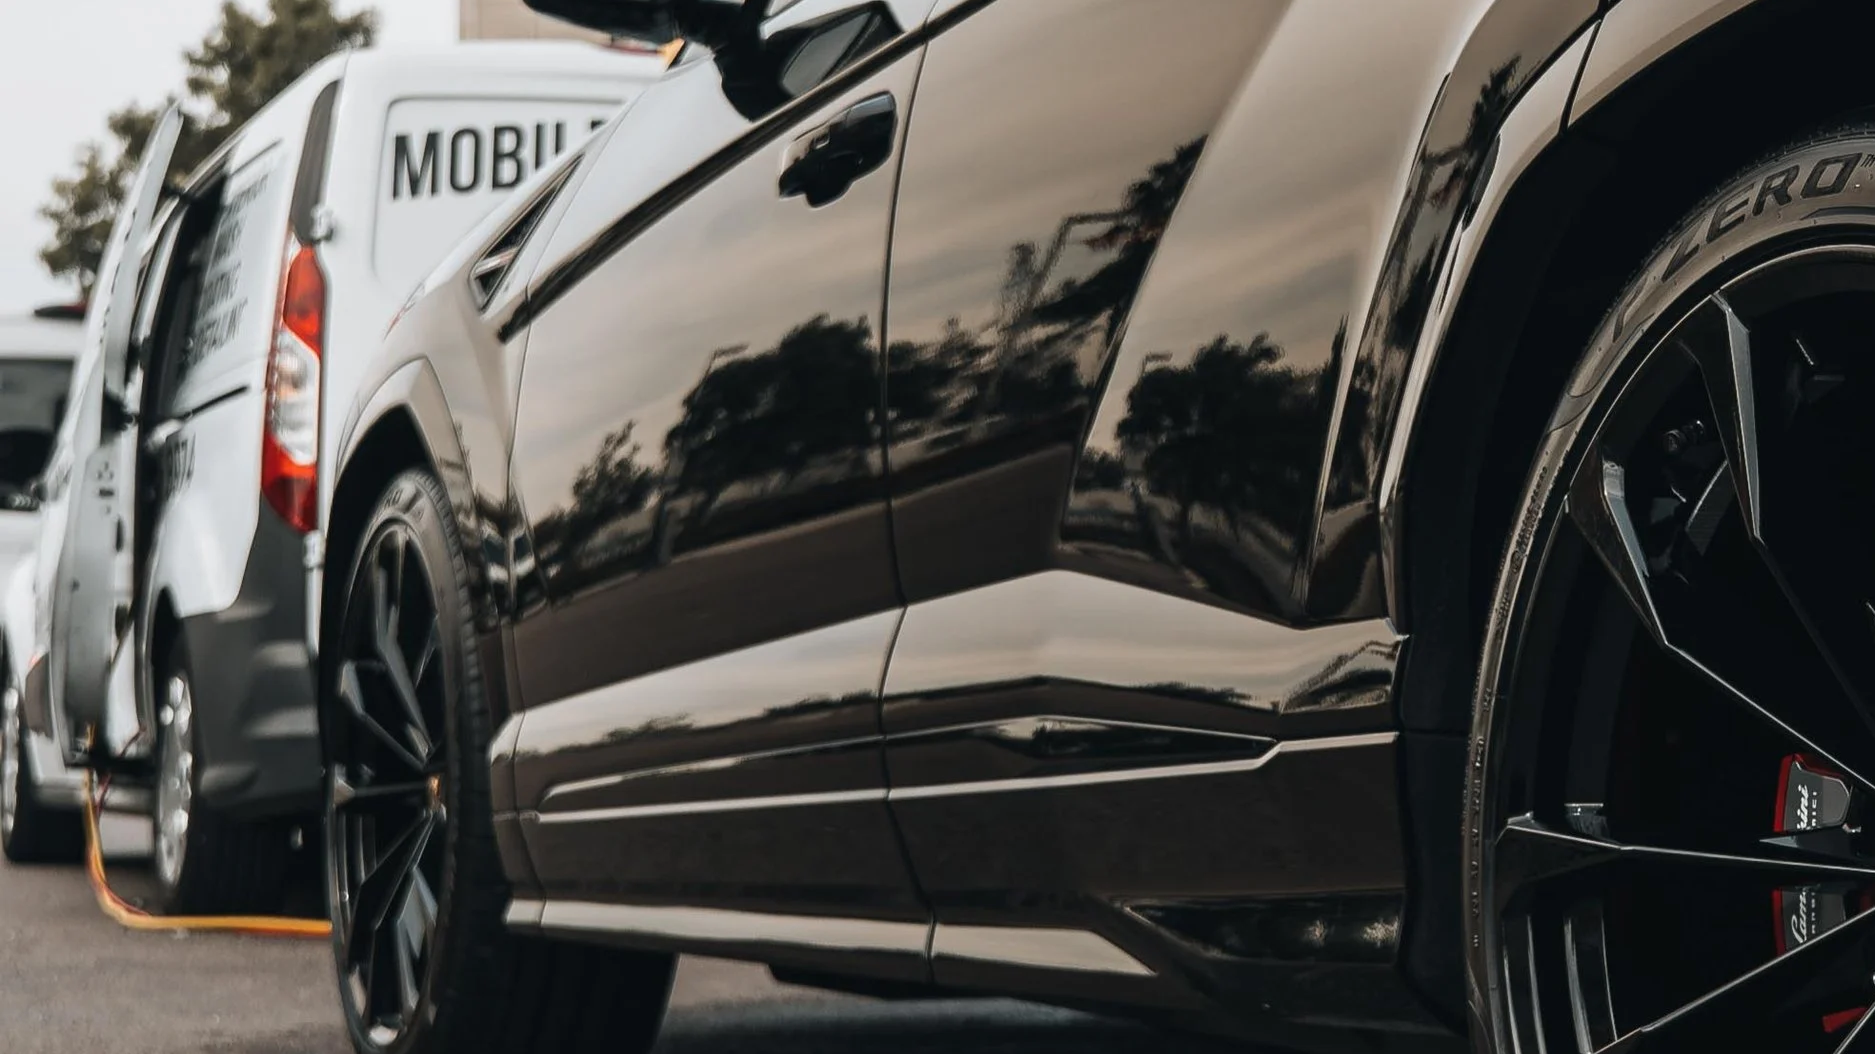
We're San Diego's mobile detailing specialists, and we've been applying ceramic coatings professionally for over eight years. We come to you—your home, office, or wherever is convenient. Our ceramic coating service includes complete paint correction, professional-grade coating application, and warranty coverage.
We work on everything from daily drivers to exotic cars, and we're honest about what each vehicle needs. Sometimes that's a full multi-stage paint correction and premium coating. Sometimes it's a single-stage polish and mid-tier coating. We'll never upsell you on services you don't need.