How to Wash Your Car at Home: Complete Step-by-Step Guide

You want to wash your car at home but you're not sure if you have the right supplies, whether you'll scratch the paint, or if your results will actually look better than just running it through an automatic car wash.
Here's what you need to know: washing your car at home delivers better results than automatic washes, costs less over time, and is easier than most people think. The key is using the two-bucket method to avoid scratches, the right products to protect your paint, and proper drying technique to prevent water spots.
After washing thousands of vehicles throughout San Diego County, Fresh Layer Mobile Detailing has learned what actually works for home car washing versus what's just marketing. This guide covers the real basics that matter.
What you'll learn:
Exactly what supplies you need (and what you can skip)
The two-bucket method that prevents scratches
Step-by-step washing process that works
Common mistakes that damage paint
When professional detailing makes more sense
The Importance of Regular Car Washing
Maintaining the cleanliness of your car plays a vital role in preserving its condition and longevity. Here, we delve into why regular car washing is crucial for every vehicle owner:
Protection Against Environmental Elements: Road grime, bird droppings, tree sap, and other contaminants can damage your car's paint if left unattended. Regular washing removes these harmful substances, preventing long-term damage.
Prevention of Rust and Corrosion: Accumulated dirt and salt from roads can lead to rust and corrosion, particularly in regions with harsh weather conditions. Regular car washing helps remove these corrosive elements, safeguarding your vehicle's metal surfaces.
Enhanced Resale Value: A clean, well-maintained car can fetch a higher resale value when the time comes. Regular washing and detailing preserve the car's appearance, making it more appealing to potential buyers.
Why Wash Your Car at Home?
Before we get into the details, it’s important to understand why washing your car at home can be a great choice:
Cost-Effective: Washing your car at home can save you money compared to commercial car washes, especially over time.
Control Over Quality: You have complete control over the products and techniques used, which is important for ensuring a gentle and effective clean.
Environmentally Friendly: By using the right products and being mindful of water usage, you can reduce your environmental impact.
Benefits of Following Professional Detailing Techniques:
Professional detailing techniques take car washing to the next level, ensuring a thorough and meticulous cleaning process. Here are some key benefits of following these techniques:
Superior Cleaning Results: Professional detailing techniques, such as the two-bucket method, use industry-approved practices to achieve a higher level of cleanliness. These techniques help minimize scratches, swirl marks, and other paint imperfections.
Attention to Detail: Professional detailers pay close attention to every nook and cranny of your vehicle. They use specialized tools and products to clean hard-to-reach areas, ensuring a comprehensive cleaning experience.
Protection and Longevity: Professional detailing often includes services like waxing, polishing, and applying protective coatings. These treatments help safeguard your car's exterior, prolonging its lifespan and enhancing its overall appearance.
Tools and the Necessary Supplies You will Need
To ensure a thorough and effective car wash, it is crucial to gather the right tools and products. Here's a breakdown of the essential supplies you'll need and some tips for selecting quality microfiber towels:
Tools and Products You'll Need
To wash your car like a professional, it's crucial to use the right tools and materials:
Two Buckets: Use one bucket for soapy water and another for rinsing your wash mitt to avoid reapplying dirt to your car.
Microfiber Wash Mitt: A soft, microfiber mitt is gentle on your car's paint.
pH-Balanced Car Shampoo: Harsh soaps can damage your paint. Choose a pH-neutral shampoo like Meguiar's Gold Class Car Wash Shampoo.
Microfiber Drying Towel: A high-quality drying towel will help you avoid water spots and streaks.
Wheel Cleaner and Brushes: A dedicated wheel cleaner and soft-bristled brushes are necessary for cleaning wheels effectively.
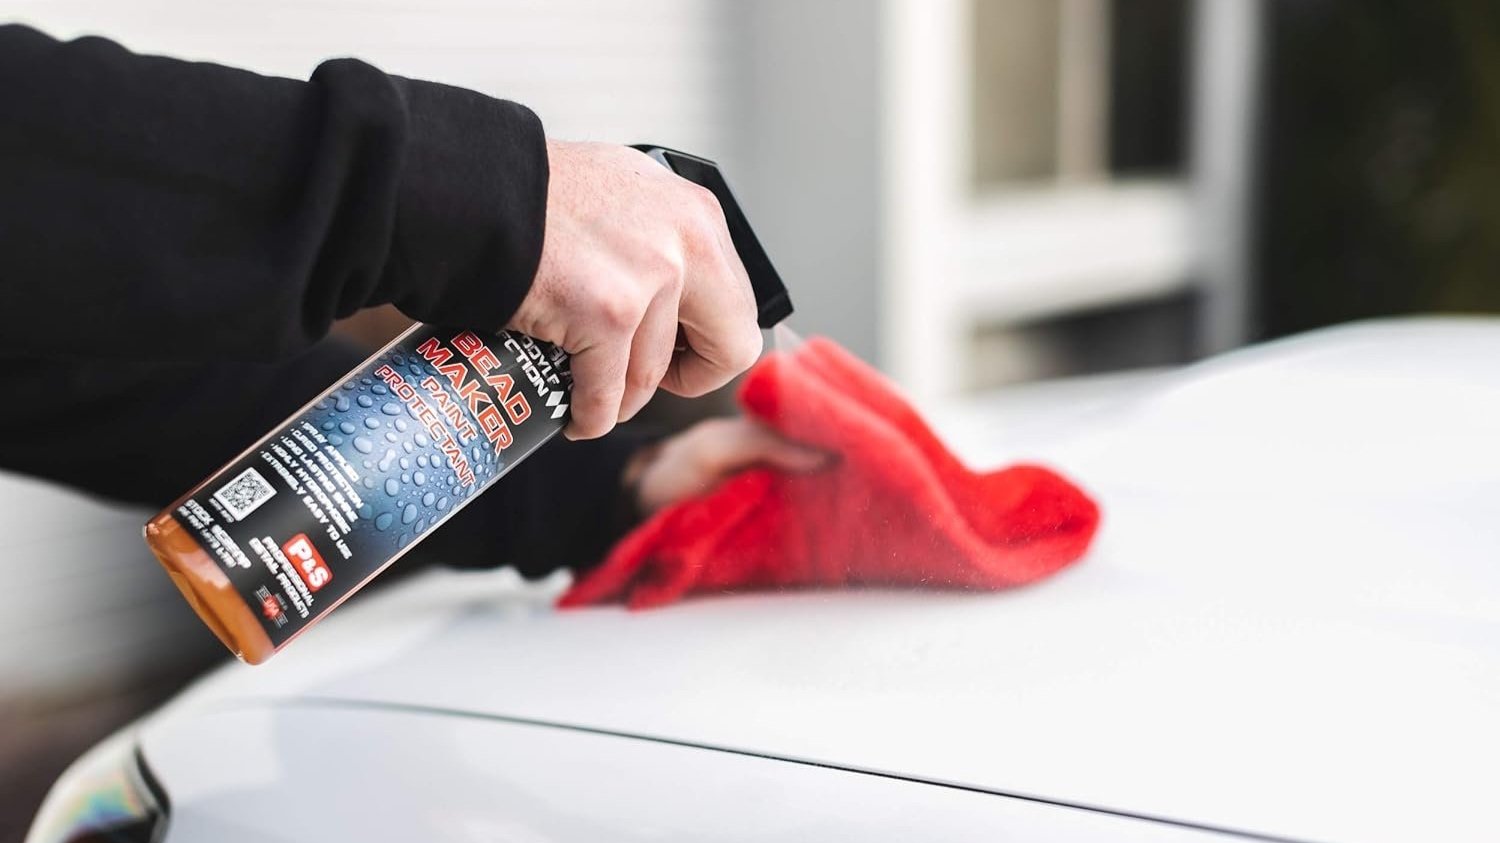
Detailing Spray: For extra shine between washes, a detailing spray helps maintain that glossy finish.
What You Actually Need: The Essential Supplies

Don't overthink this. You need these items, everything else is optional.
Required Supplies
Two buckets (5-gallon each): One for soapy water, one for rinsing your wash mitt. This single change prevents most scratches. Any two large buckets work - you don't need special detailing buckets.
Grit guards (optional but recommended): Plastic inserts that sit in bucket bottoms and trap dirt below them. $8-12 each. Not essential but they help.
pH-neutral car shampoo: Regular dish soap strips wax and can damage paint. Car shampoo is formulated to clean without harming protective coatings. $10-15 for a bottle that lasts 20+ washes.
Microfiber wash mitt: Softer than sponges, holds more water and soap, less likely to scratch. $8-15. Replace yearly or when it starts shedding fibers.
Microfiber drying towels (2-3): These absorb more water than regular towels and don't leave lint. Get at least two large ones (16"x24" or bigger). $15-25 each for quality towels.
Garden hose with spray nozzle: You need water pressure for rinsing. A simple spray nozzle with different settings works fine. $10-20.
Wheel cleaner and brush: Wheels get brake dust and road grime that car shampoo alone won't remove. Dedicated wheel cleaner makes a huge difference. $10-15. Get a soft-bristled brush that fits between spokes. $8-12.
Total investment: $80-150 for everything. It'll last years with proper care.
Optional Upgrades That Actually Help
Foam cannon or foam gun: Attaches to your hose or pressure washer and creates thick foam that clings to the car. The foam helps lift dirt before you touch the paint. Foam gun (hose attachment): $25-40. Foam cannon (pressure washer): $30-60.
Pressure washer: Makes rinsing faster and more thorough. Not required but nice to have. Electric models start around $100-150.
Quick detailer spray: Use between washes to safely wipe off dust or light dirt. $12-18 per bottle.
Car wax or sealant: Provides a protective layer over your paint. Apply every 2-3 months. $15-30 per container.
What You Don't Need
Special "detailing" buckets: Regular 5-gallon buckets from hardware stores work fine. Save your money.
Multiple types of wash mitts: One quality mitt is enough for most people.
Dozens of different towels: Start with 2-3 good drying towels. Add more as needed.
Expensive branded products: Generic car shampoo often works as well as premium brands. Focus on pH-neutral formulation, not the brand name.
The Two-Bucket Method: Why It Matters
This is the single most important thing to understand about washing your car properly.
The Problem With One Bucket
When you dip a dirty wash mitt back into your soap bucket, you're adding all that dirt to the soapy water. Next time you use the mitt, you're essentially rubbing that dirt across your paint, creating tiny scratches (swirl marks).
Over months and years, this creates the dull, hazy look that makes paint look old even on relatively new cars. You've probably seen it - paint that looks fine from a distance but up close you can see thousands of tiny scratches creating a spiderweb pattern, especially in direct sunlight.
How Two Buckets Fix This
Bucket 1: Soap bucket - Car shampoo mixed with water
Bucket 2: Rinse bucket - Clean water only
The process:
Dip mitt in soap bucket, wash a section of the car
Rinse mitt thoroughly in clean water bucket before going back to soap
The dirt stays in the rinse bucket instead of contaminating your soap
Repeat for each section of the car
Pro tip: Add grit guards to both buckets. When you swirl the mitt against the grit guard, it helps release trapped dirt. The dirt settles below the guard, and clean water stays above it.
Real-World Impact
Fresh Layer has detailed hundreds of cars that were regularly washed by their owners "the wrong way" for years. The difference in paint condition between properly washed cars and single-bucket cars is dramatic. Swirl marks, hazy paint, and dull finish all come from dirt being dragged across paint during washing.
The two-bucket method costs maybe $10 more (one extra bucket) and adds 30 seconds per wash. That's it.
Step-by-Step Guide to Washing Your Car at Home
Step 1: Pick the Right Time and Place
Location: Shaded area if possible. Direct sunlight causes soap and water to dry too quickly, leaving spots. Your driveway works fine if you don't have shade - just wash in early morning or evening when the car surface isn't hot.
Timing: When the car surface is cool to the touch. Not after a drive when the hood is hot. Not in the middle of a summer afternoon.
Surface: Flat surface is best. Sloped driveways work but water runs off faster, so work in sections and rinse immediately.
Step 2: Initial Rinse
Use your hose to thoroughly rinse the entire car. This removes loose dirt, dust, and debris before you touch the paint with anything.
Start from the top, work down. Gravity helps - you're rinsing dirt off rather than pushing it around.
Pay extra attention to:
Wheel wells (lots of dirt and mud accumulate)
Between body panels and trim
Around door handles and mirrors
Lower panels and rocker panels (most dirt accumulates here)
Time spent: 2-3 minutes
This step matters more than most people realize. The more loose dirt you remove before touching the paint, the less chance of scratching during washing.
Step 3: Wash the Wheels First
Wheels are the dirtiest part of your car. Wash them first so dirty wheel cleaner doesn't splash on your freshly washed body panels.
Spray wheel cleaner on all four wheels (follow product directions for dwell time)
Use your wheel brush to scrub between spokes and around the rim
Rinse thoroughly with strong water pressure
If brake dust is heavy, repeat for especially dirty wheels
Don't use your regular wash mitt on wheels. The brake dust and grime are too abrasive. Keep a separate brush or old mitt just for wheels.
Time spent: 5-8 minutes for all four wheels
Step 4: Foam the Car (Optional)
If you have a foam cannon or foam gun, now's the time to use it.
Fill the foam cannon reservoir with car shampoo and water per product directions
Apply thick foam over the entire car
Let it dwell for 2-3 minutes (don't let it dry)
Rinse off
The foam helps break down dirt and provides extra lubrication before you touch the paint. Not required, but it helps and looks cool.
Step 5: Two-Bucket Washing
Set up your buckets:
Fill one with water and car shampoo (follow bottle directions for ratio - usually 1-2 oz per gallon)
Fill the second with clean water only
Add grit guards if you have them
Washing technique:
Start at the roof (always wash top to bottom)
Dip mitt in soap bucket, wring out excess
Wash a section using straight lines, not circles (reduces swirl marks)
Rinse mitt thoroughly in clean water bucket
Return to soap bucket, repeat for next section
Working order:
Roof
Upper body panels (hood, trunk, upper doors)
Windows
Mid-body panels
Lower body panels (these are dirtiest - save for last)
Technique tips:
Use light pressure - let the soap do the work
Overlap your passes slightly to ensure complete coverage
Rinse the mitt frequently (after each panel or every 2-3 passes)
Change your rinse water if it gets very dirty
Time spent: 15-20 minutes
Step 6: Thorough Rinse
After washing the entire car, rinse everything thoroughly.
Start from the top again, work down. Use strong water pressure to remove all soap residue. Any soap left behind will dry and leave spots or streaking.
Check for spots you missed:
Under mirrors and door handles
Around trim and body panel gaps
Lower edges where soap accumulates
Time spent: 3-5 minutes
Step 7: Dry the Car
Don't skip this step. Air-drying leaves water spots, especially if you have hard water.
Drying technique:
Start with a damp (not dripping wet) microfiber drying towel
Lay the towel flat on the surface and drag it gently
Use light pressure - you're absorbing water, not scrubbing
Flip to a clean section of towel frequently
Work top to bottom, same as washing
For faster drying:
Use a leaf blower or dedicated car dryer to blow water out of crevices, mirrors, and trim gaps
This prevents water from dripping out later and creating spots
Replace towels when they get saturated. A soaking wet towel doesn't absorb - it just pushes water around.
Time spent: 10-15 minutes
Common Mistakes That Damage Paint
Using Dish Soap
Dish soap is designed to cut through grease and remove oils. That's exactly what you don't want on your car - it strips away protective wax and can damage paint over time.
Car shampoo is formulated to clean without removing wax or harming paint. The $10-15 cost difference is worth it.
Washing in Direct Sunlight
Heat causes water and soap to dry too quickly. You end up with water spots, soap residue, and a frustrating experience trying to work faster than evaporation.
Solution: Wash in shade, or in early morning/evening when surfaces are cool.
Using Dirty Wash Tools
A wash mitt used for five washes without proper cleaning holds dirt in the fibers. You're essentially scrubbing your paint with a dirty rag.
After each wash: Rinse mitts and towels thoroughly, then wash them with laundry detergent. No fabric softener (reduces absorbency). Air dry or low heat.
Skipping the Rinse Step
Going straight from washing to drying leaves soap residue that creates streaks and spots. Always rinse thoroughly before drying.
Dragging Drying Towels
Rubbing or dragging a towel with pressure creates swirl marks. Use a light touch, pat or gently glide the towel across the surface.
Ignoring Water Quality
If you have hard water (San Diego does), minerals in the water create spots when it dries. Always dry completely - never let the car air-dry.
For persistent water spot issues: Use distilled water for the final rinse, or apply a spray wax after drying to create a barrier.
FAQs About Washing Your Car at Home
-
Ideally, you should wash your car every 2-3 weeks. If you live in an area with lots of dust, pollen, or road salt, you might need to do it more frequently.
-
Yes, if the pressure is too high or if you use the wrong nozzle. Stick to a moderate setting and keep the nozzle at least 12 inches away from the paint.
-
No, waxing after every wash isn’t necessary. A good wax can last 1-3 months depending on the product. However, it’s a good idea to use a quick detailing spray for added shine.
When Professional Detailing Makes More Sense
Home washing works great for maintenance, but there are situations where professional service delivers better results or is more practical.
Your Paint Needs Correction
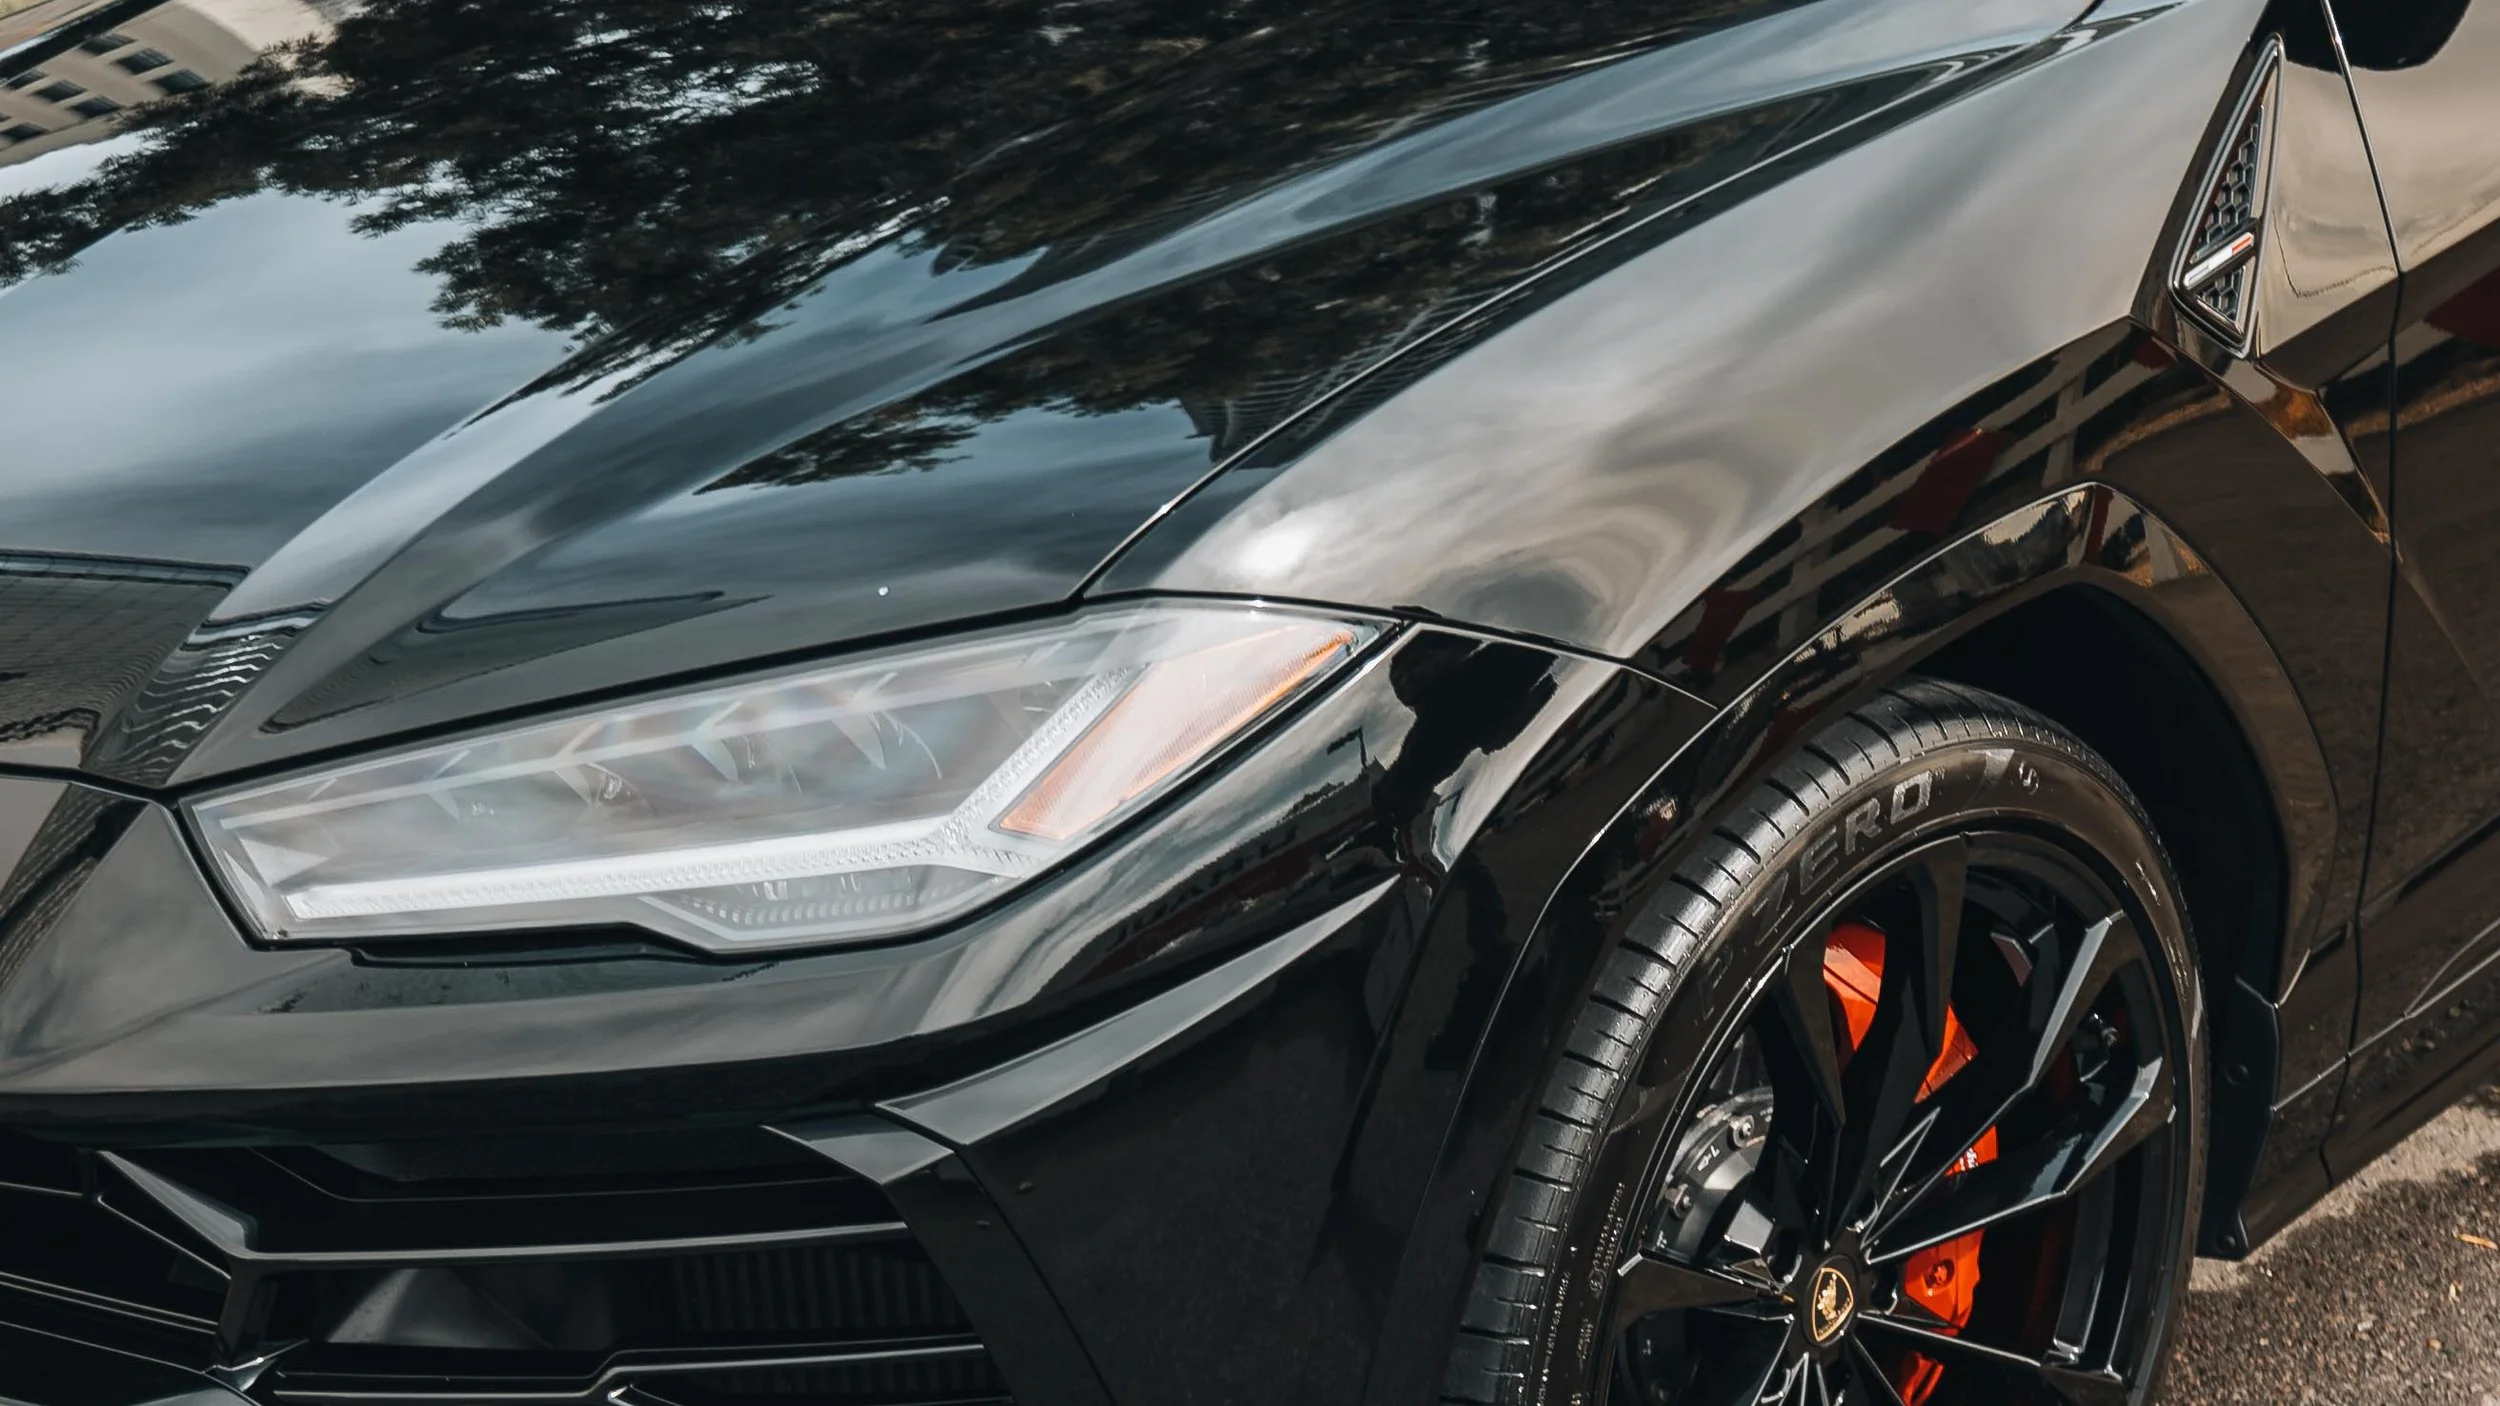
If your car has visible swirl marks, water spots that won't wash off, or oxidation making the paint look dull, washing won't fix these issues. Professional paint correction involves specialized tools and compounds to actually remove damaged clear coat and restore the finish.
Fresh Layer's paint correction service addresses these issues properly before applying protective coatings. DIY attempts often make problems worse.
You Don't Have Time or Proper Space
Washing properly takes 60-90 minutes including setup and cleanup. If you're washing on the street without shade, in an apartment complex without access to water, or simply don't have time regularly, professional mobile detailing makes more sense.
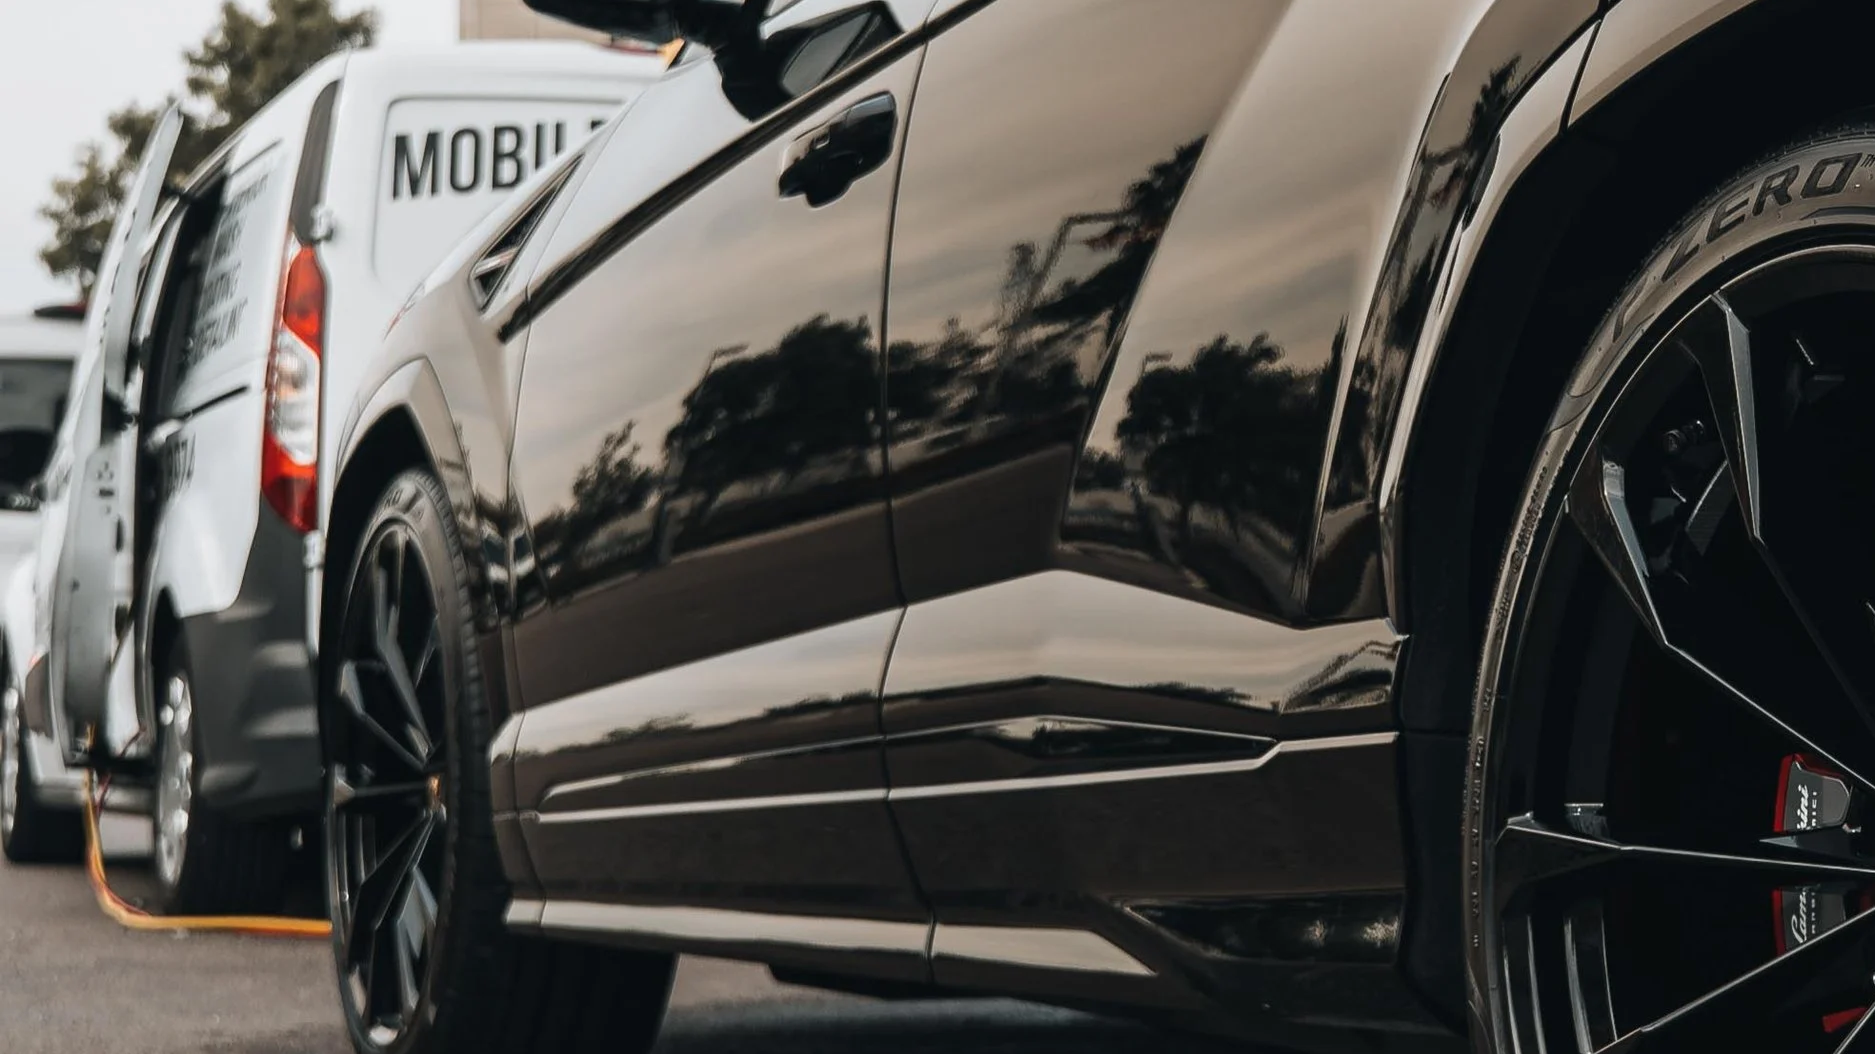
Fresh Layer comes to your location - home, office, or anywhere in San Diego County. You're not spending any time on the process, and you're not giving up your vehicle to drop it somewhere.
Your Vehicle Needs Deep Cleaning
If it's been months (or years) since the last proper cleaning, the accumulated contamination requires more than regular maintenance washing. Professional detailing includes decontamination processes (clay bar treatment, chemical decon) that remove bonded contamination home washing can't touch.
Special Coatings Require Specific Care
Vehicles with ceramic coating need pH-neutral products and proper technique to maintain the coating. If you're not comfortable with the requirements, professional maintenance washing ensures your expensive coating lasts its full lifespan.
The Value-Time Calculation
DIY costs: $80-150 initial investment, $20-30 annually for supplies, 60-90 minutes per wash
Professional costs: $80-150 for maintenance wash
If you wash monthly, DIY saves maybe $800-1,000 annually but costs 12-18 hours of your time. If your time is worth $50-100+ per hour, professional service makes financial sense beyond just convenience.
Many Fresh Layer customers do their own maintenance washing between quarterly professional detailing. This balances cost savings with expert care and catches any issues early.
Conclusion: Getting Started With Home Car Washing
Washing your car at home doesn't require expensive equipment or professional expertise. You need basic supplies, the two-bucket method to prevent scratches, and proper technique.
Quick start summary:
Get two buckets, car shampoo, microfiber mitt and towels
Pick a shaded spot or wash when surfaces are cool
Rinse thoroughly first to remove loose dirt
Wash wheels first, then body using two-bucket method
Rinse completely, dry thoroughly with microfiber towels
Wash every 2-4 weeks depending on conditions
Common mistakes to avoid:
Using dish soap instead of car shampoo
Washing in direct sunlight
Single bucket (no rinse bucket)
Air-drying instead of hand-drying
Skipping the initial rinse step
When to consider professional help:
Paint correction needed for swirl marks or oxidation
Deep cleaning after extended neglect
Time or space constraints make DIY impractical
Special coatings require specific maintenance
Ready for professional mobile detailing? Fresh Layer Mobile Detailing provides expert car care throughout San Diego County. We come to your location with commercial-grade equipment and professional products.
Contact Fresh Layer today: (619) 433-8974 BBB A+ rated | Mobile service | 2,000+ vehicles detailed
In Case you don’t have time for detailing your car your self, we here for you, number one Mobile Car Detailing in San Diego.
Browse our pacakges online, or simple book your appoitment just click this button