Headlight Restoration San Diego: Complete Service Guide for Foggy, Yellow Headlights
Your headlights are foggy and yellow, making night driving sketchy and making your car look older than it is. You've probably seen the DIY kits at auto parts stores or watched YouTube videos showing "amazing" results with toothpaste or baking soda.
Here's what actually works and what's just wasting your time: professional headlight restoration costs $99 for both headlights at Fresh Layer Mobile Detailing in San Diego, lasts 1-2 years with proper care, and actually restores optical clarity. DIY kits might work temporarily but typically fail within 2-4 months because they skip the critical UV protection step.
After restoring headlights on over 2,000 vehicles throughout San Diego County, we've seen what happens with both approaches. This isn't about pushing our service—it's about understanding what actually causes headlight yellowing in San Diego's climate and what solutions deliver lasting results.

Why Headlights Turn Yellow (And Why San Diego Makes It Worse)
Headlight lenses aren't glass—they're polycarbonate plastic. That's good for safety (doesn't shatter in accidents) but terrible for UV resistance.
The UV Exposure Problem
San Diego averages 266 sunny days annually. That's constant UV bombardment that breaks down the polycarbonate surface at a molecular level.
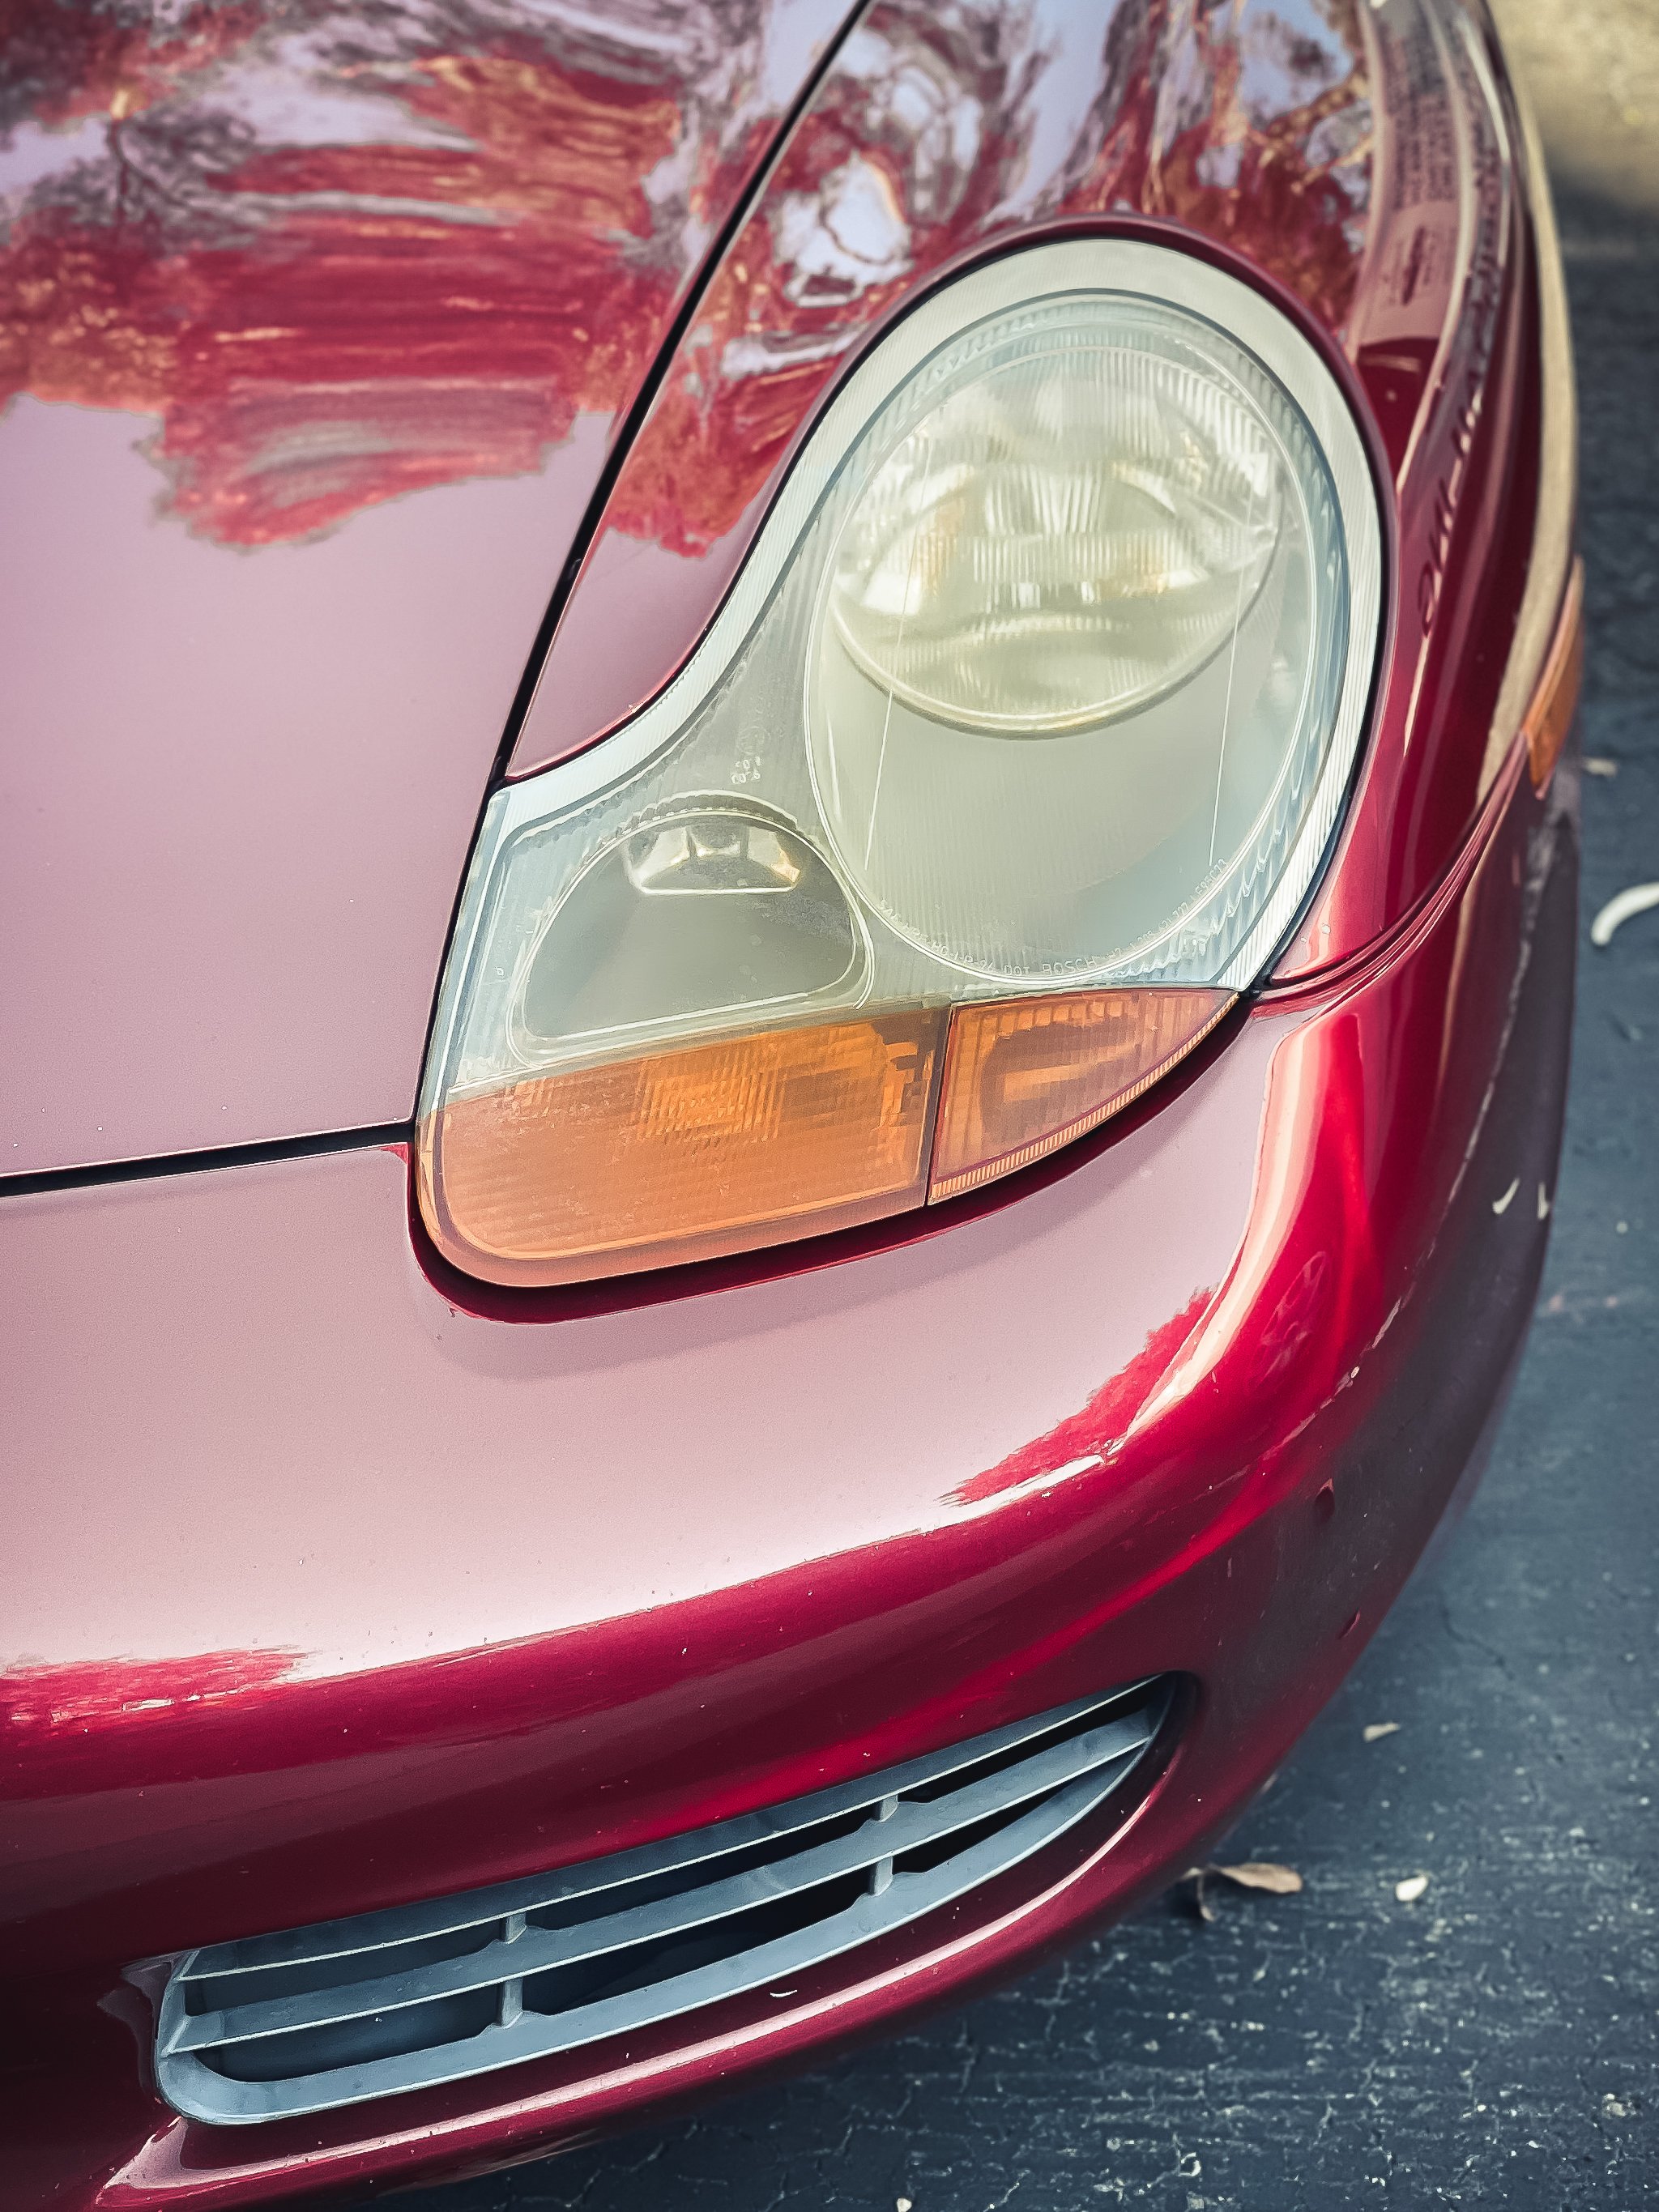
Every headlight lens has a factory UV-protective coating. Over 5-8 years of San Diego sun exposure, that coating degrades and eventually fails completely. Once it's gone, the unprotected polycarbonate underneath starts oxidizing—turning yellow, then brown, then becoming cloudy and opaque.
Why San Diego is particularly harsh: Our UV index regularly hits 10-11 during summer months. The lack of overcast days means consistent exposure year-round. Coastal areas get some relief from marine layer mornings, but inland areas (Poway, Santee, El Cajon, Ramona) experience the full force of UV exposure daily.
Fresh Layer sees faster headlight degradation on vehicles in East County compared to coastal San Diego. A car in Santee might show significant yellowing at 6-7 years while the same model in La Jolla might not show problems until 8-10 years.
Heat Accelerates the Damage
San Diego summers mean headlight surfaces can reach 150-180°F. At those temperatures, the oxidation process accelerates. The plastic becomes more porous, allowing oxidation to penetrate deeper into the lens material.
This is why headlights often look worse after summer than after winter—the heat isn't causing the damage directly, but it's speeding up the UV damage that's happening constantly.
Road Contaminants Make It Worse
Highway driving means constant bombardment with:
Road tar and asphalt particles that bond to the lens surface
Brake dust from vehicles ahead
Industrial fallout near I-5, I-8, and I-15 corridors
Salt spray for coastal drivers
Bug splatter that etches into compromised plastic
These contaminants create a rough surface that accelerates further oxidation and makes lenses look even cloudier.
The Degradation Progression
Years 1-5: Factory UV coating intact, headlights stay clear
Years 5-7: UV coating begins failing, slight yellowing appears
Years 7-9: Obvious yellowing, reduced nighttime visibility
Years 9-12: Brown discoloration, significantly reduced light output
Years 12+: Opaque white cloudiness, dangerous nighttime visibility
This timeline compresses in San Diego's climate. What takes 10-12 years in Portland or Seattle happens in 7-8 years here.


Professional Headlight Restoration: What Actually Happens
"Restoration" sounds vague. Here's exactly what the process involves and why each step matters.
The Fresh Layer Professional Process
1. Initial Assessment (5 minutes)
We check for:
Depth of oxidation (surface only vs. deep penetration)
Cracks or physical damage (can't be fixed with restoration)
Internal lens moisture (indicates seal failure)
Adjustment and mounting condition
Some headlights are too far gone for restoration. If the plastic is cracked, if moisture is inside the lens assembly, or if oxidation has penetrated too deeply, we'll tell you honestly that replacement is the better option.
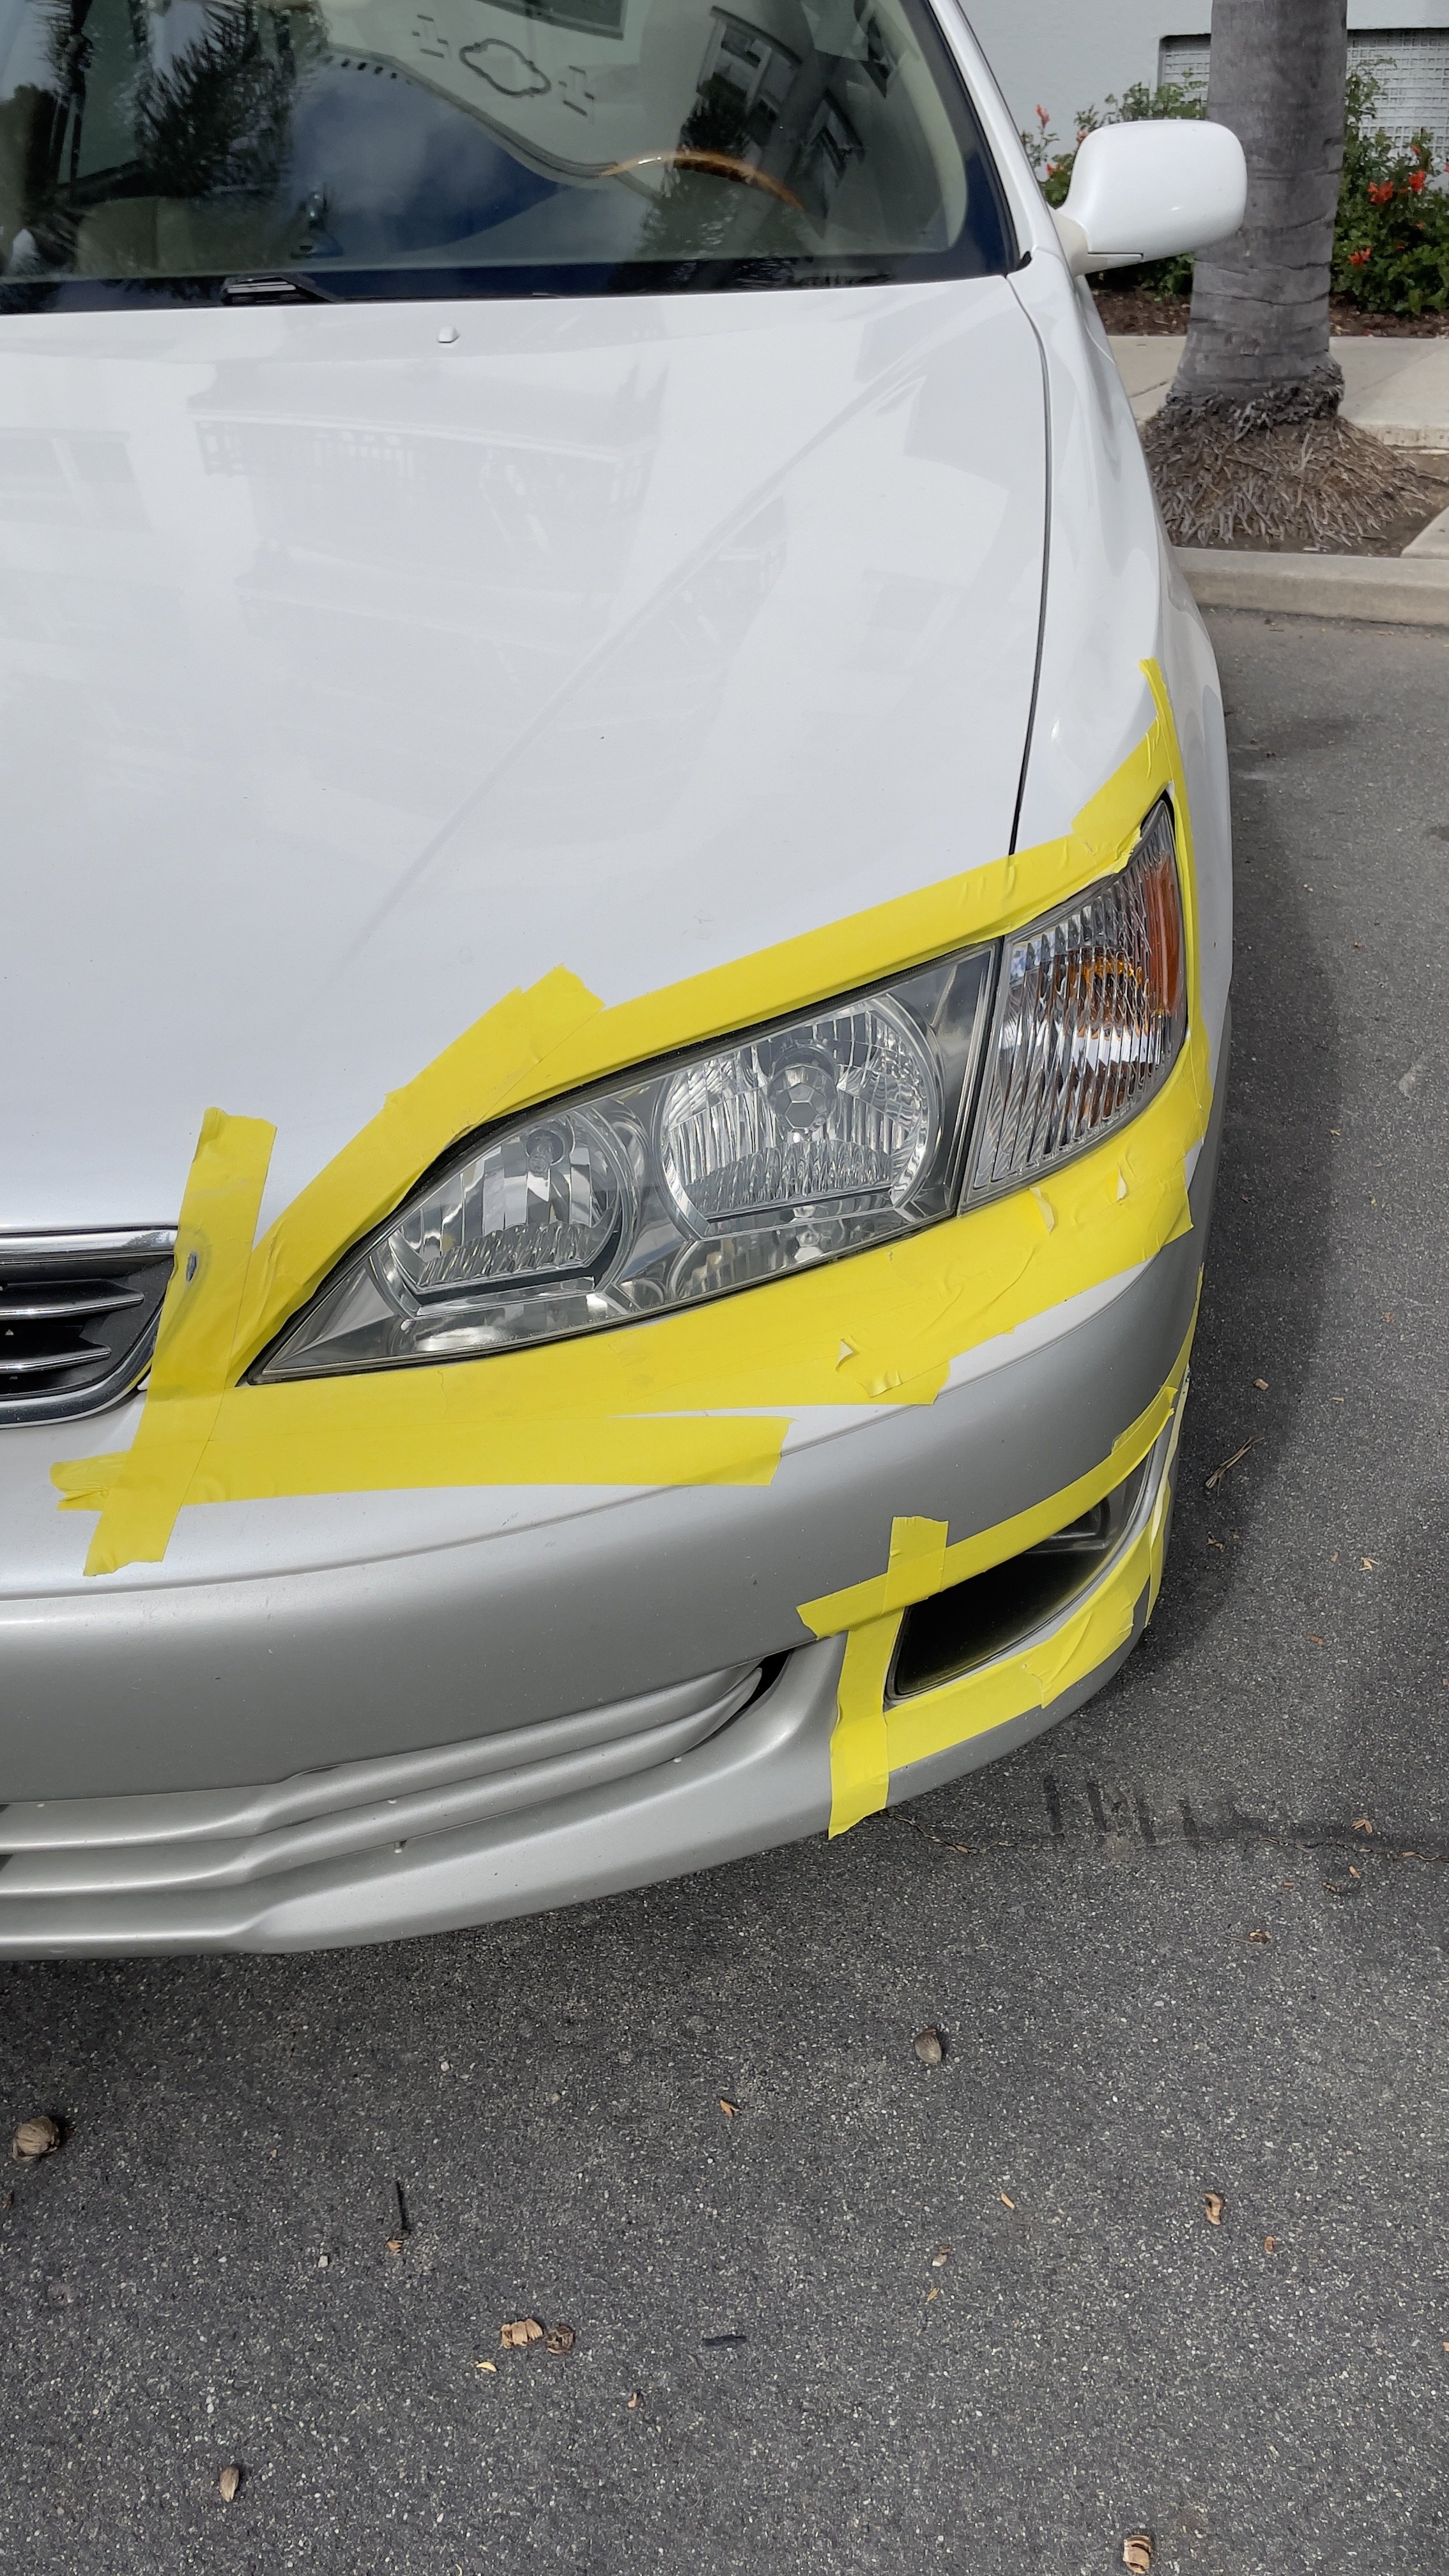
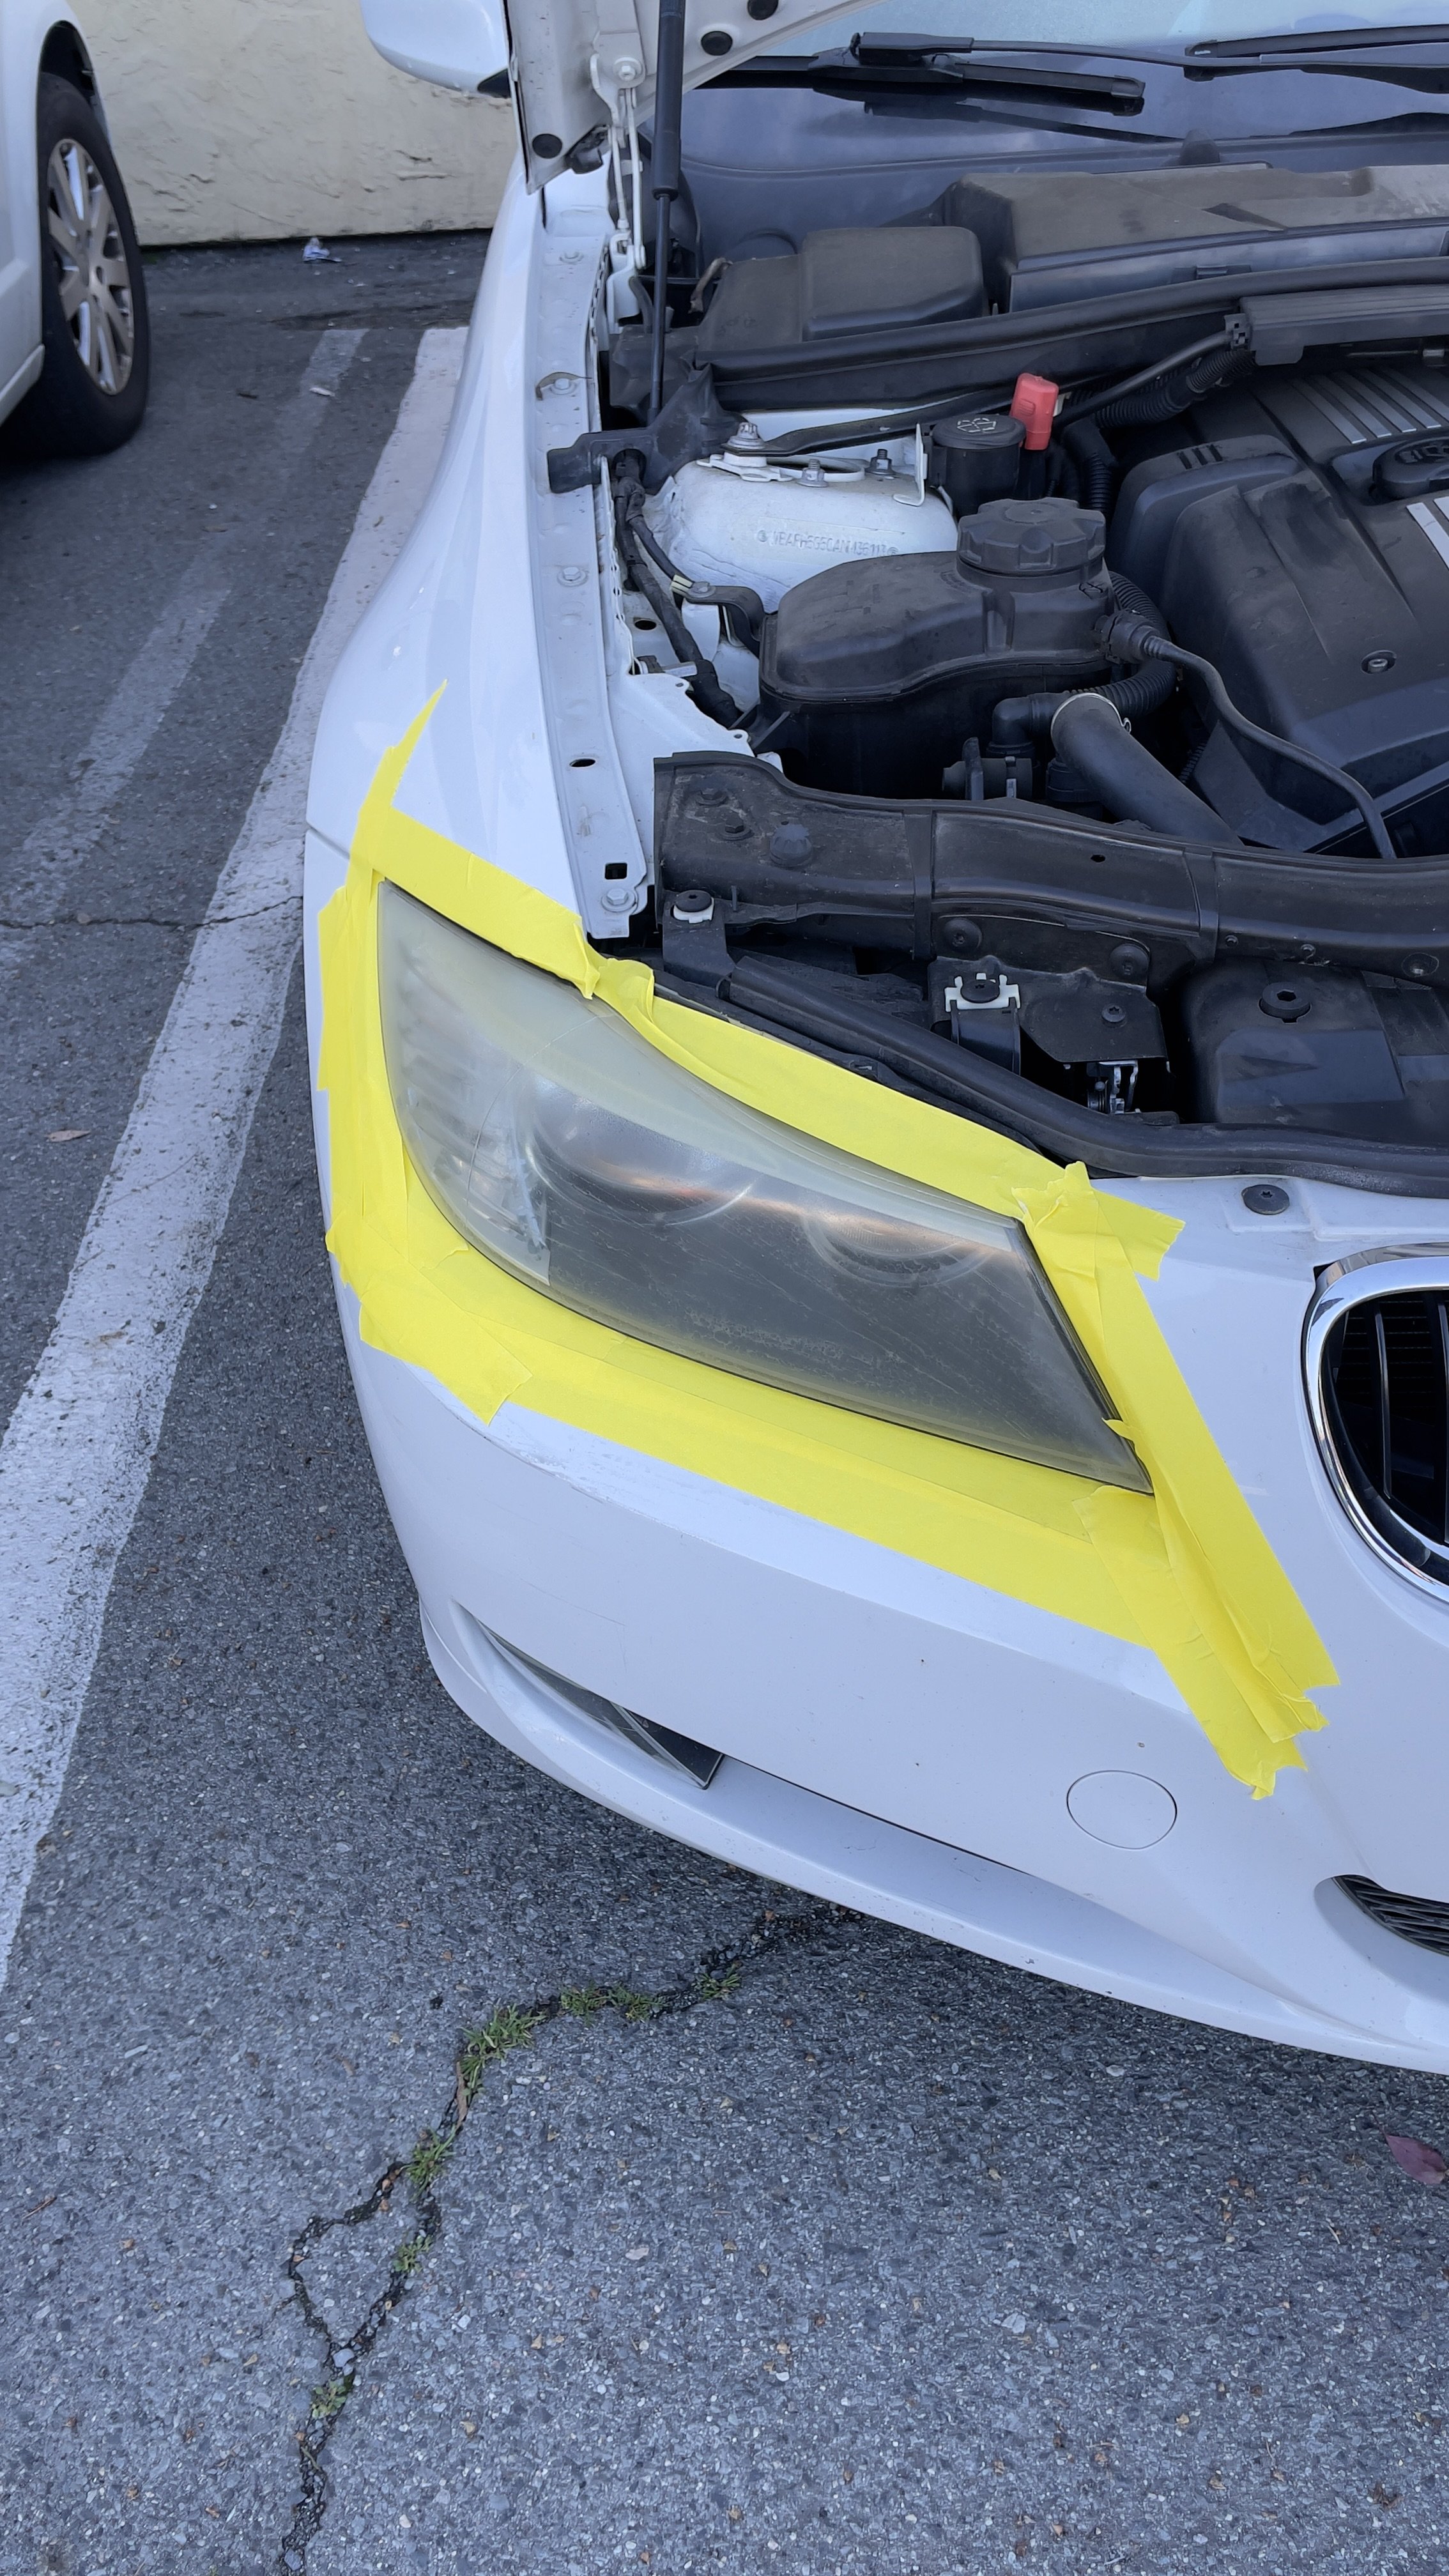
2. Surface Cleaning and Masking (10 minutes)
Thoroughly clean the lens to remove all contamination. Then carefully mask the surrounding paint and trim—sanding overspray on your paint or trim is not acceptable.
This step seems basic but matters significantly. Attempting restoration on a dirty lens just grinds contaminants into the plastic.
3. Wet Sanding (20-30 minutes)
This is the critical step that separates professional restoration from DIY attempts.
We use progressively finer sandpaper grits (typically 800 → 1500 → 2000 → 3000) with constant water lubrication. Each grit removes the oxidized layer left by the previous grit until we've removed all discolored material and created a uniformly smooth surface.
Why wet sanding matters: It removes the oxidized layer completely rather than just polishing the surface. DIY kits that skip sanding are essentially just buffing oxidized plastic—it might look better temporarily but the oxidation is still there.
The risk: Sanding removes plastic. Too aggressive and you can create thin spots or uneven surfaces. Too conservative and you don't remove enough oxidation. This is where experience matters—Fresh Layer technicians know exactly how much material needs to come off.
4. Polishing Compound Application (10-15 minutes)
After sanding creates a uniformly hazy surface, polishing compound removes the fine scratches from the finest sandpaper and brings back optical clarity.
Multiple polishing stages with progressively finer compounds create the crystal-clear finish that properly restored headlights should have.
5. UV-Resistant Clear Coat Application (Critical)
This is what DIY kits usually skip or get wrong. Without proper UV protection, your freshly restored headlights will yellow again within 3-6 months.
Professional UV-resistant clear coat creates the protective barrier that prevents future oxidation. This isn't the same as the factory coating (which already failed), but it performs the same function—blocking UV rays from reaching the polycarbonate.
Application technique matters here. Too thick and it runs or creates an uneven finish. Too thin and it doesn't provide adequate protection. Temperature and humidity during application affect curing and final durability.
Fresh Layer uses automotive-grade 2K ceramic clear coat specifically formulated for polycarbonate. It cures harder than single-component products and provides 12-24 months of protection in San Diego conditions.
6. Final Inspection (5 minutes)
Check for:
Uniform clarity across the entire lens
No runs, drips, or uneven coating
Proper masking tape removal without paint damage
Light output and beam pattern quality
Total time: 60-90 minutes for both headlights
DIY Kits vs Professional Restoration: The Honest Comparison
What DIY Kits Actually Deliver
Most DIY headlight restoration kits run $15-30 and include:
Sandpaper (usually 3-4 grits)
Polishing compound
Basic instructions
Maybe a UV protective wipe or spray
The problem with DIY:
1. The UV protection fails quickly: Most kit UV protectants are single-component spray or wipe-on products. They work for maybe 2-4 months in San Diego sun before breaking down. Then you're back to square one—yellow headlights.
2. Most people don't sand enough: Fear of removing too much material means people don't remove enough oxidation. The headlights look better but the improvement doesn't last because oxidation is still in the plastic.
3. Uneven results are common: One headlight comes out better than the other. Or results vary across the lens surface. Professional-grade lighting and technique create uniform results.
4. The time investment is significant: First-timers should expect 3-4 hours for both headlights, including cleanup and masking. That's if everything goes right.
Real cost of DIY over 2 years:
Initial kit: $25
Second application (6 months later): $25
Third application (12 months): $25
Fourth application (18 months): $25
Total: $100 + 12-16 hours of work for results that never look as good as professional restoration
What Professional Restoration Delivers
Fresh Layer restoration costs $99 for both headlights and includes:
Complete sanding and polishing process
Professional-grade UV protective coating
Mobile service (we come to you anywhere in San Diego County)
1-year warranty on the restoration work
Time investment from you: Zero
Typical durability: 12-18 months before any yellowing returns, 24+ months for garage-kept vehicles.
The value equation: $99 professional restoration that lasts 12-18 months vs. $100 in DIY kits that need reapplication every 4-6 months plus 15+ hours of your time.
For most people, professional restoration makes more financial sense even before factoring in time value.
Step-by-Step Guide to Cleaning Headlights
How To restore Headlights
Step 1: Cleaning
Begin by washing the headlights with automotive soap and warm water to remove any loose dirt and debris.
Dry the headlights thoroughly with a microfiber towel.
Step 2: Sanding
Apply masking tape around the headlights to protect the surrounding paint.
Start with 600 grit sandpaper, wetting both the sandpaper and the headlight. Sand in a circular motion, applying gentle pressure. Rinse the sandpaper frequently.
Progress to 1500 grit and finish with 2000 grit sandpaper, using the same wet sanding technique. This will smooth out any rough surfaces and prepare the lens for polishing.
Step 3: Polishing
Apply a small amount of polishing compound to a clean microfiber cloth or sponge.
Rub the compound over the entire surface of the headlight in circular motions, focusing on any particularly cloudy spots until the headlight looks clear.
Step 4: Applying UV-Resistant Clear Coat
Clean the headlight surface again to ensure it's free of any polishing compound.
Spray a UV-resistant clear coat to seal the headlight and protect it from future oxidation and UV damage. Apply according to the manufacturer's instructions, typically in a well-ventilated area.
Step 5: Final Wipe
After the clear coat has dried, give the headlights a final wipe with a clean microfiber cloth to remove any residue.
When Restoration Makes Sense vs. When to Replace
Not every headlight can or should be restored.
Restoration Works Best For:
2005-2020 vehicles with:
Surface oxidation and yellowing (even severe yellowing)
No cracks or physical damage to the lens
No internal moisture or fogging
Original lens assemblies (not previously restored poorly)
Lenses under $200 per side replacement cost
Example: 2015 Honda Accord with yellow, hazy headlights. Restoration: $99 for both. Replacement: $400-600 for OEM assemblies plus installation. Easy decision.
Replacement Makes More Sense For:
Headlights with:
Cracks in the lens: These allow moisture intrusion and can't be fixed
Delamination: Internal lens separation or damage
Failed seals: Moisture inside the lens assembly
Severe pitting: Deep surface damage that requires removing too much material
Previous poor restoration attempts: Sometimes DIY attempts create more problems than they solve
Example: 2008 BMW with cracked lens and internal moisture. Replacement is the only option that actually fixes the problem.
High-end vehicles: Luxury vehicles often have expensive replacement headlights ($800-2,000 per side), making restoration worthwhile even for more severe degradation.
The Age Factor
Vehicles over 15 years old: Consider replacement if other lighting issues exist (burned-out projectors, failed ballasts, corroded wiring). Restoration fixes the lens but doesn't address these other failure points common in older vehicles.
Modern vehicles with LED or adaptive headlights: These are expensive ($1,500-3,000 per assembly) and restoration is almost always the smart financial choice as long as the lens is restorable.Tips for Maintaining Clear Headlights
Regularly clean your headlights when washing your car.
Apply a UV protection wax or sealant every few months to help prevent oxidation.
Consider using headlight covers or films that provide additional protection against UV light and physical damage.
Pros and Cons of Headlight Restoration
Pros:
Improved Visibility: Restores full functionality and beam clarity.
Enhanced Appearance: Elevates the look of your vehicle.
Cost-Effective: Cheaper than replacing headlights.
Cons:
Time-Consuming: Proper restoration requires effort and time.
Risk of Damage: Incorrect techniques can further damage the headlights.
Temporary: Without proper sealing, oxidation can quickly return.
Understanding the right techniques and materials to use for headlight restoration can significantly impact the effectiveness and longevity of your results. Regular maintenance and protection will keep your headlights clear and functional, ensuring safer driving conditions and preserving the aesthetic appeal of your vehicle.
Why San Diego Vehicles Need Restoration More Frequently
San Diego's climate creates the perfect storm for accelerated headlight degradation:
High UV index year-round: No significant winter period with reduced sun exposure means UV damage happens constantly.
Temperature extremes: Summer heat accelerates oxidation. Dashboard temperatures exceed 180°F, and headlight surfaces aren't far behind.
Coastal salt air: Salt particles in the air create surface roughness that speeds up contamination and oxidation, particularly for vehicles within 5 miles of the coast.
Low humidity: Dry air means less atmospheric moisture to diffuse UV rays, resulting in more direct UV exposure.
Year-round outdoor activities: San Diego drivers use their vehicles year-round, meaning more exposure to elements versus regions with harsh winters where vehicles are garaged more.
Fresh Layer sees headlight restoration requests from vehicles as young as 6-7 years in East County, while the national average is 9-10 years. The difference is entirely climate-driven.
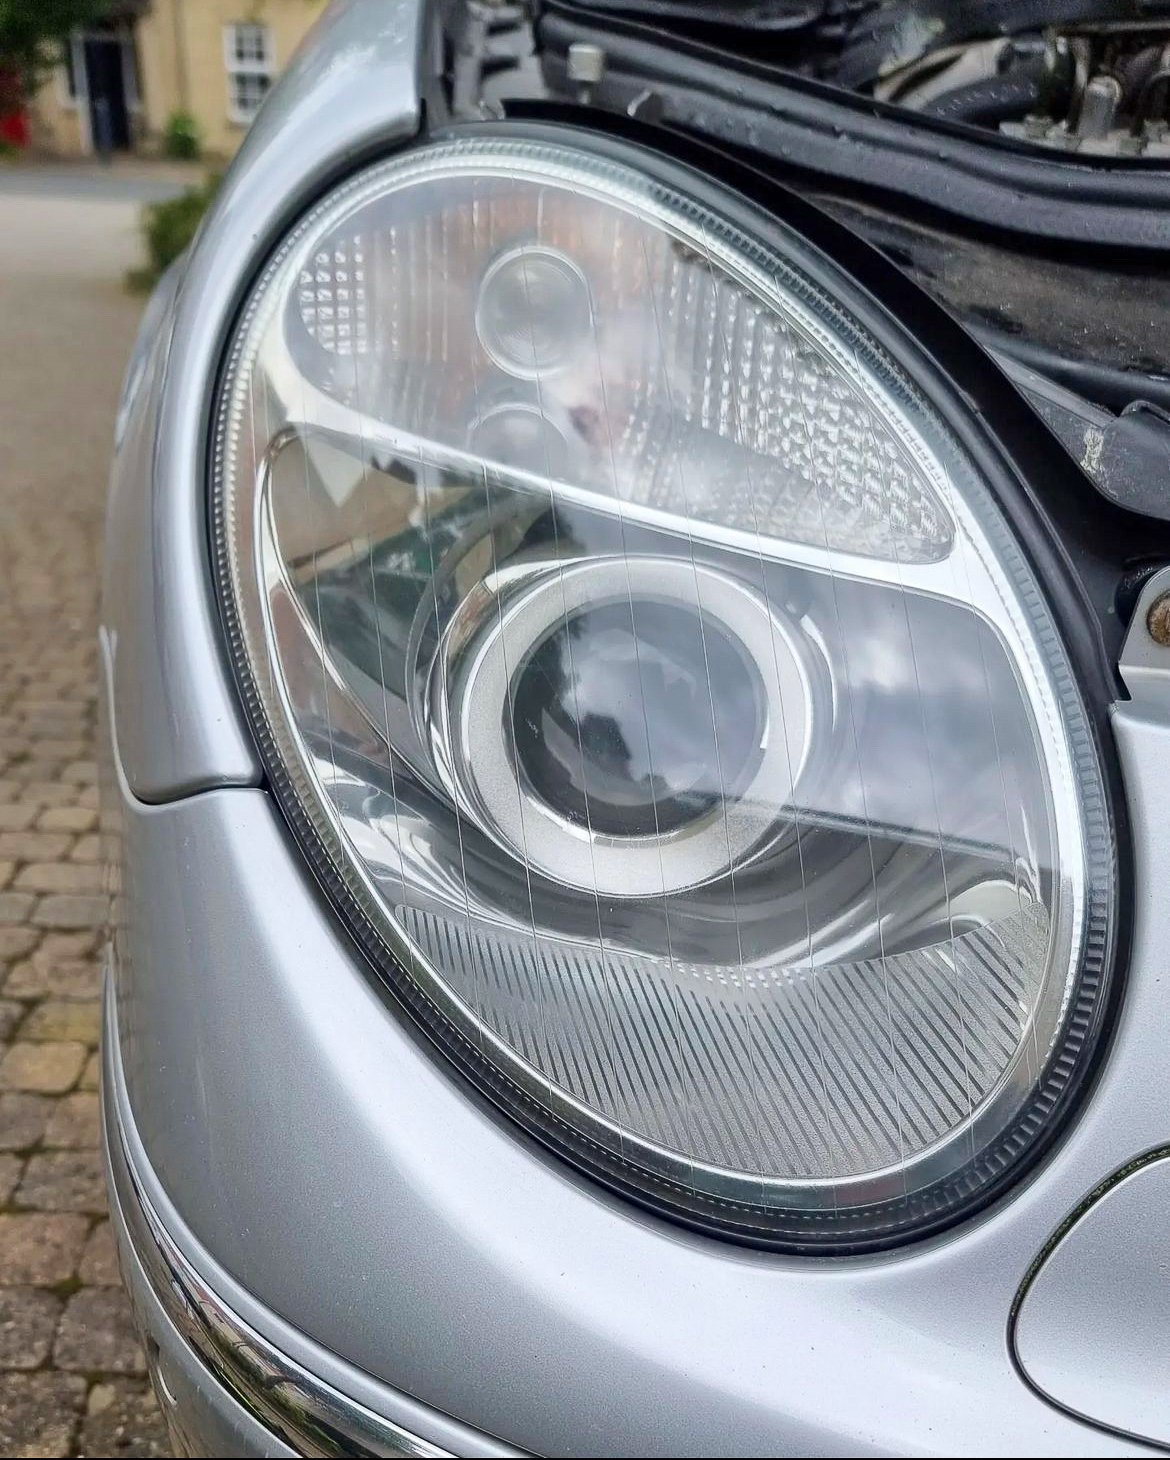
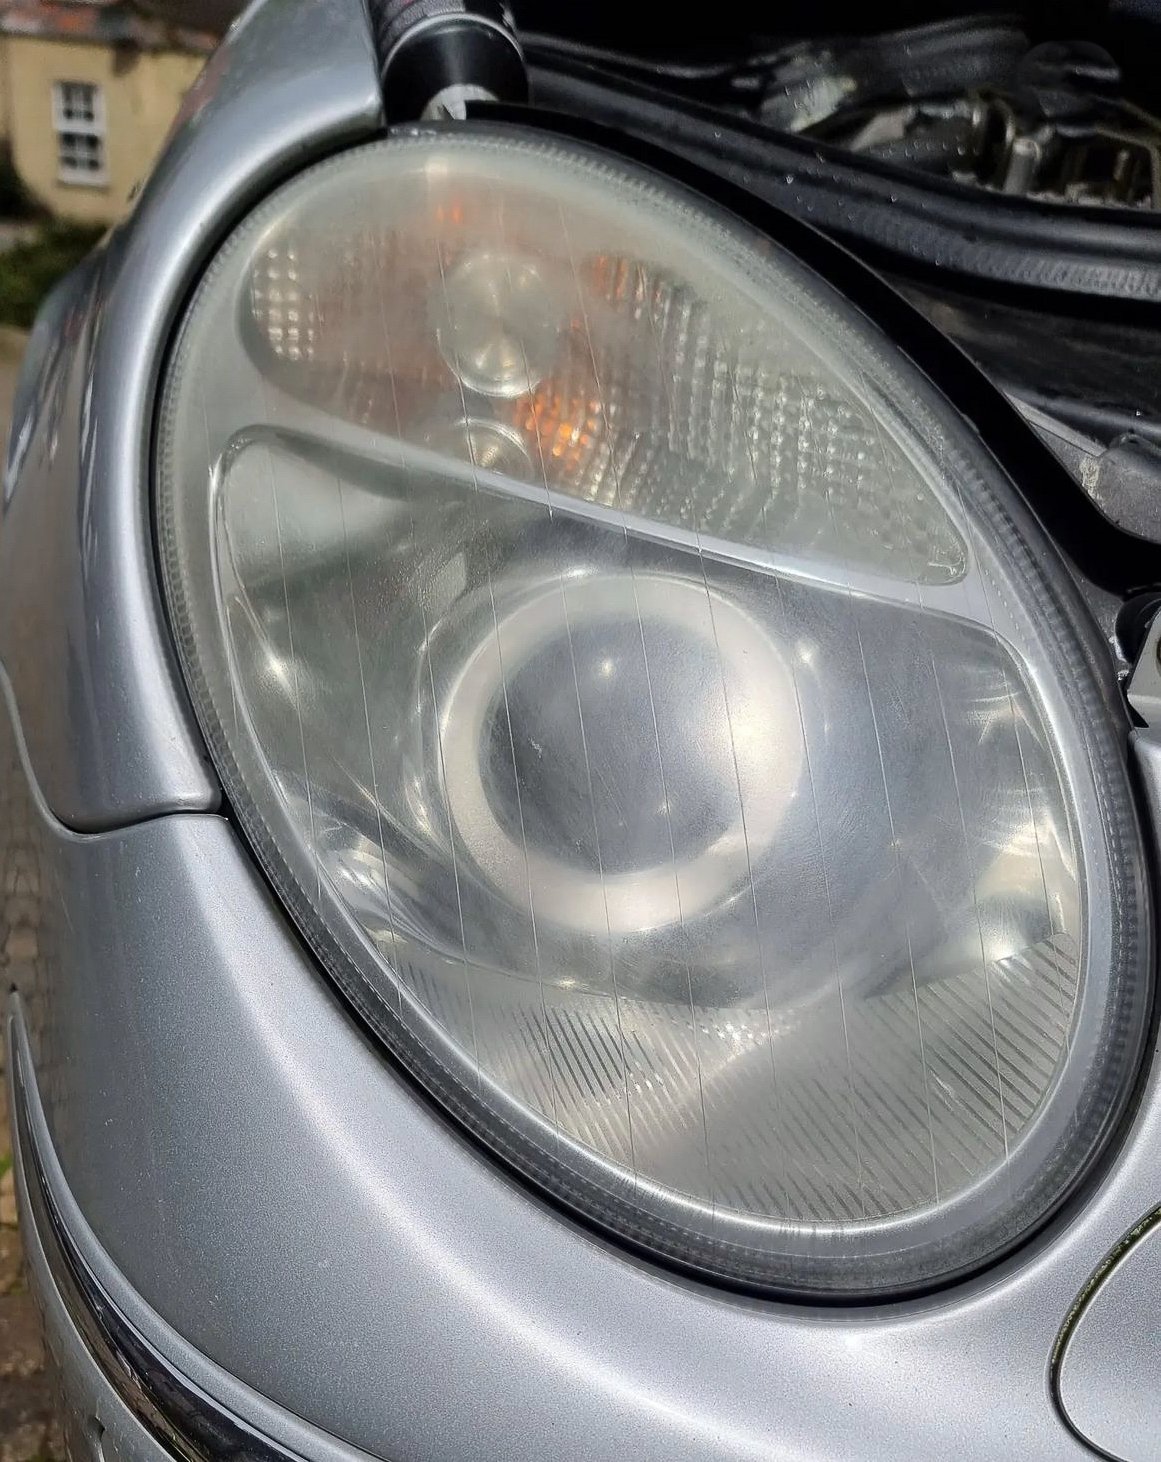
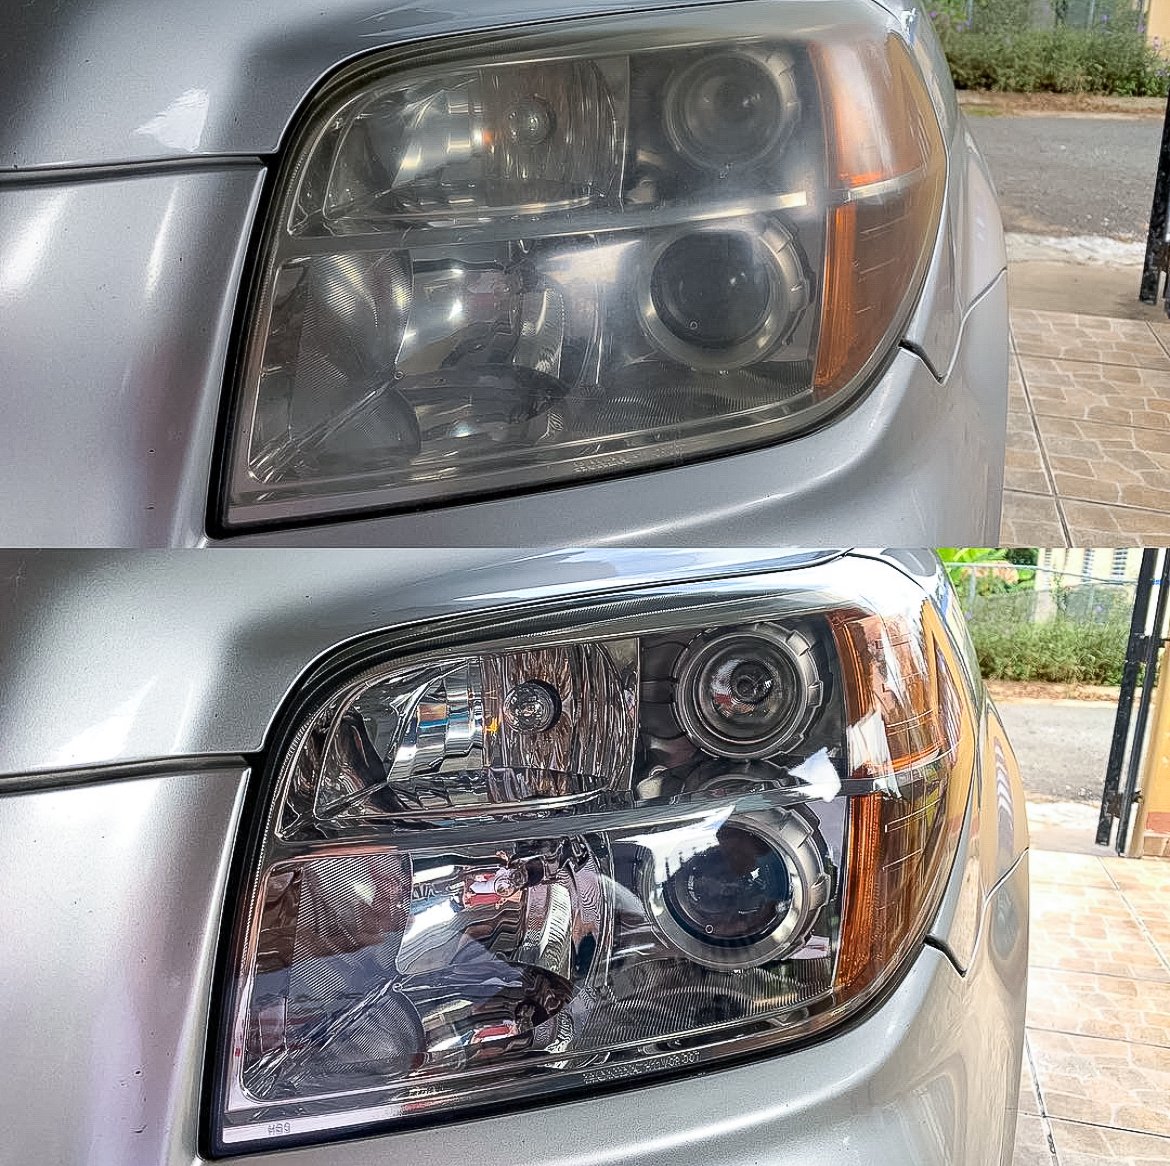
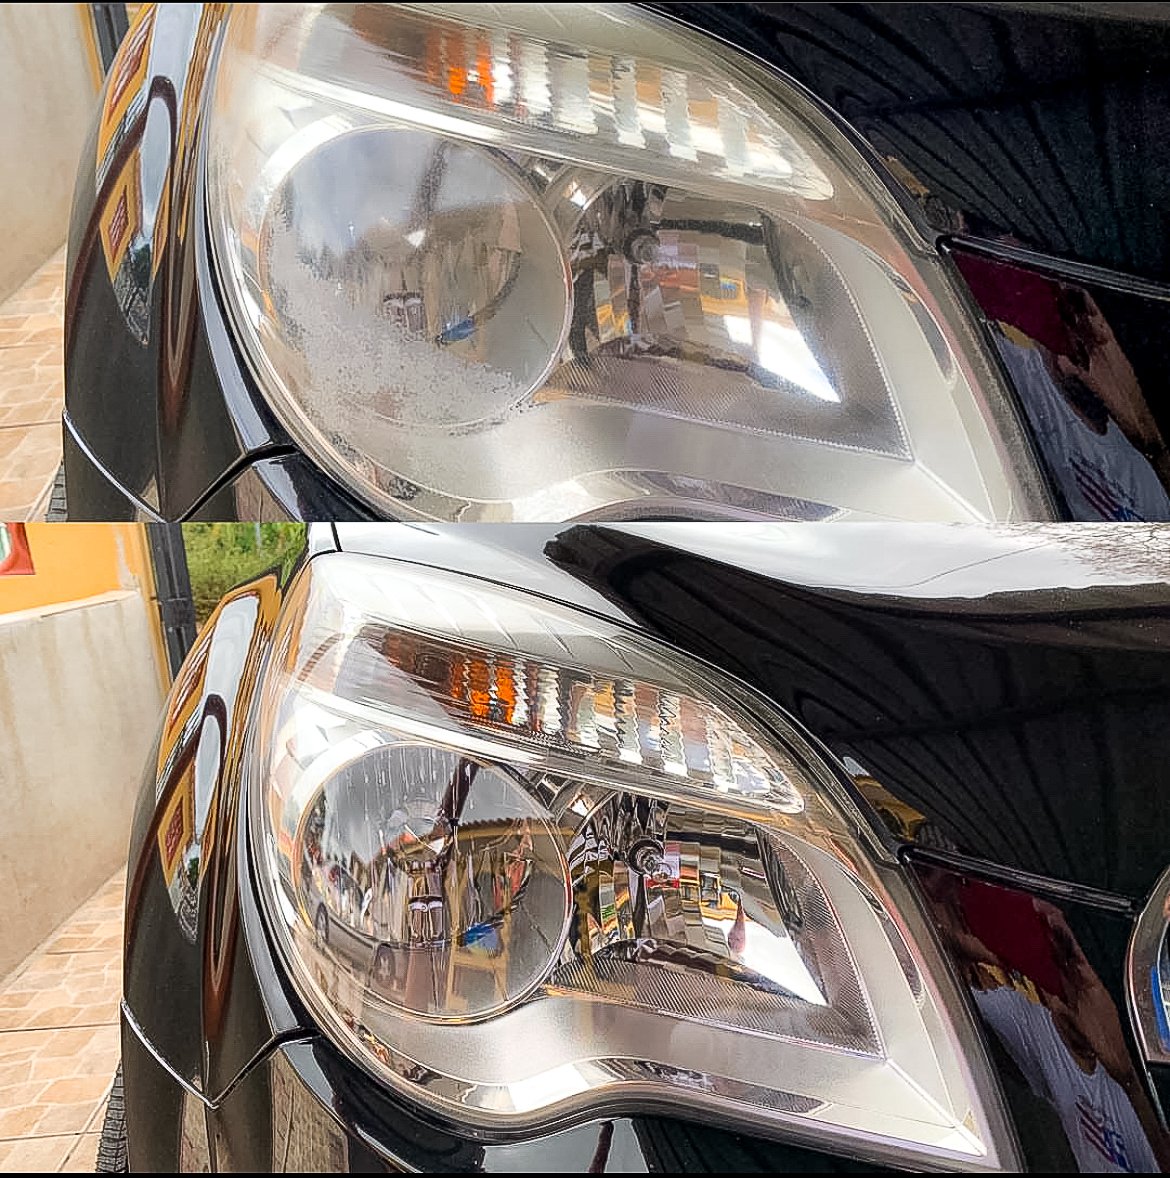
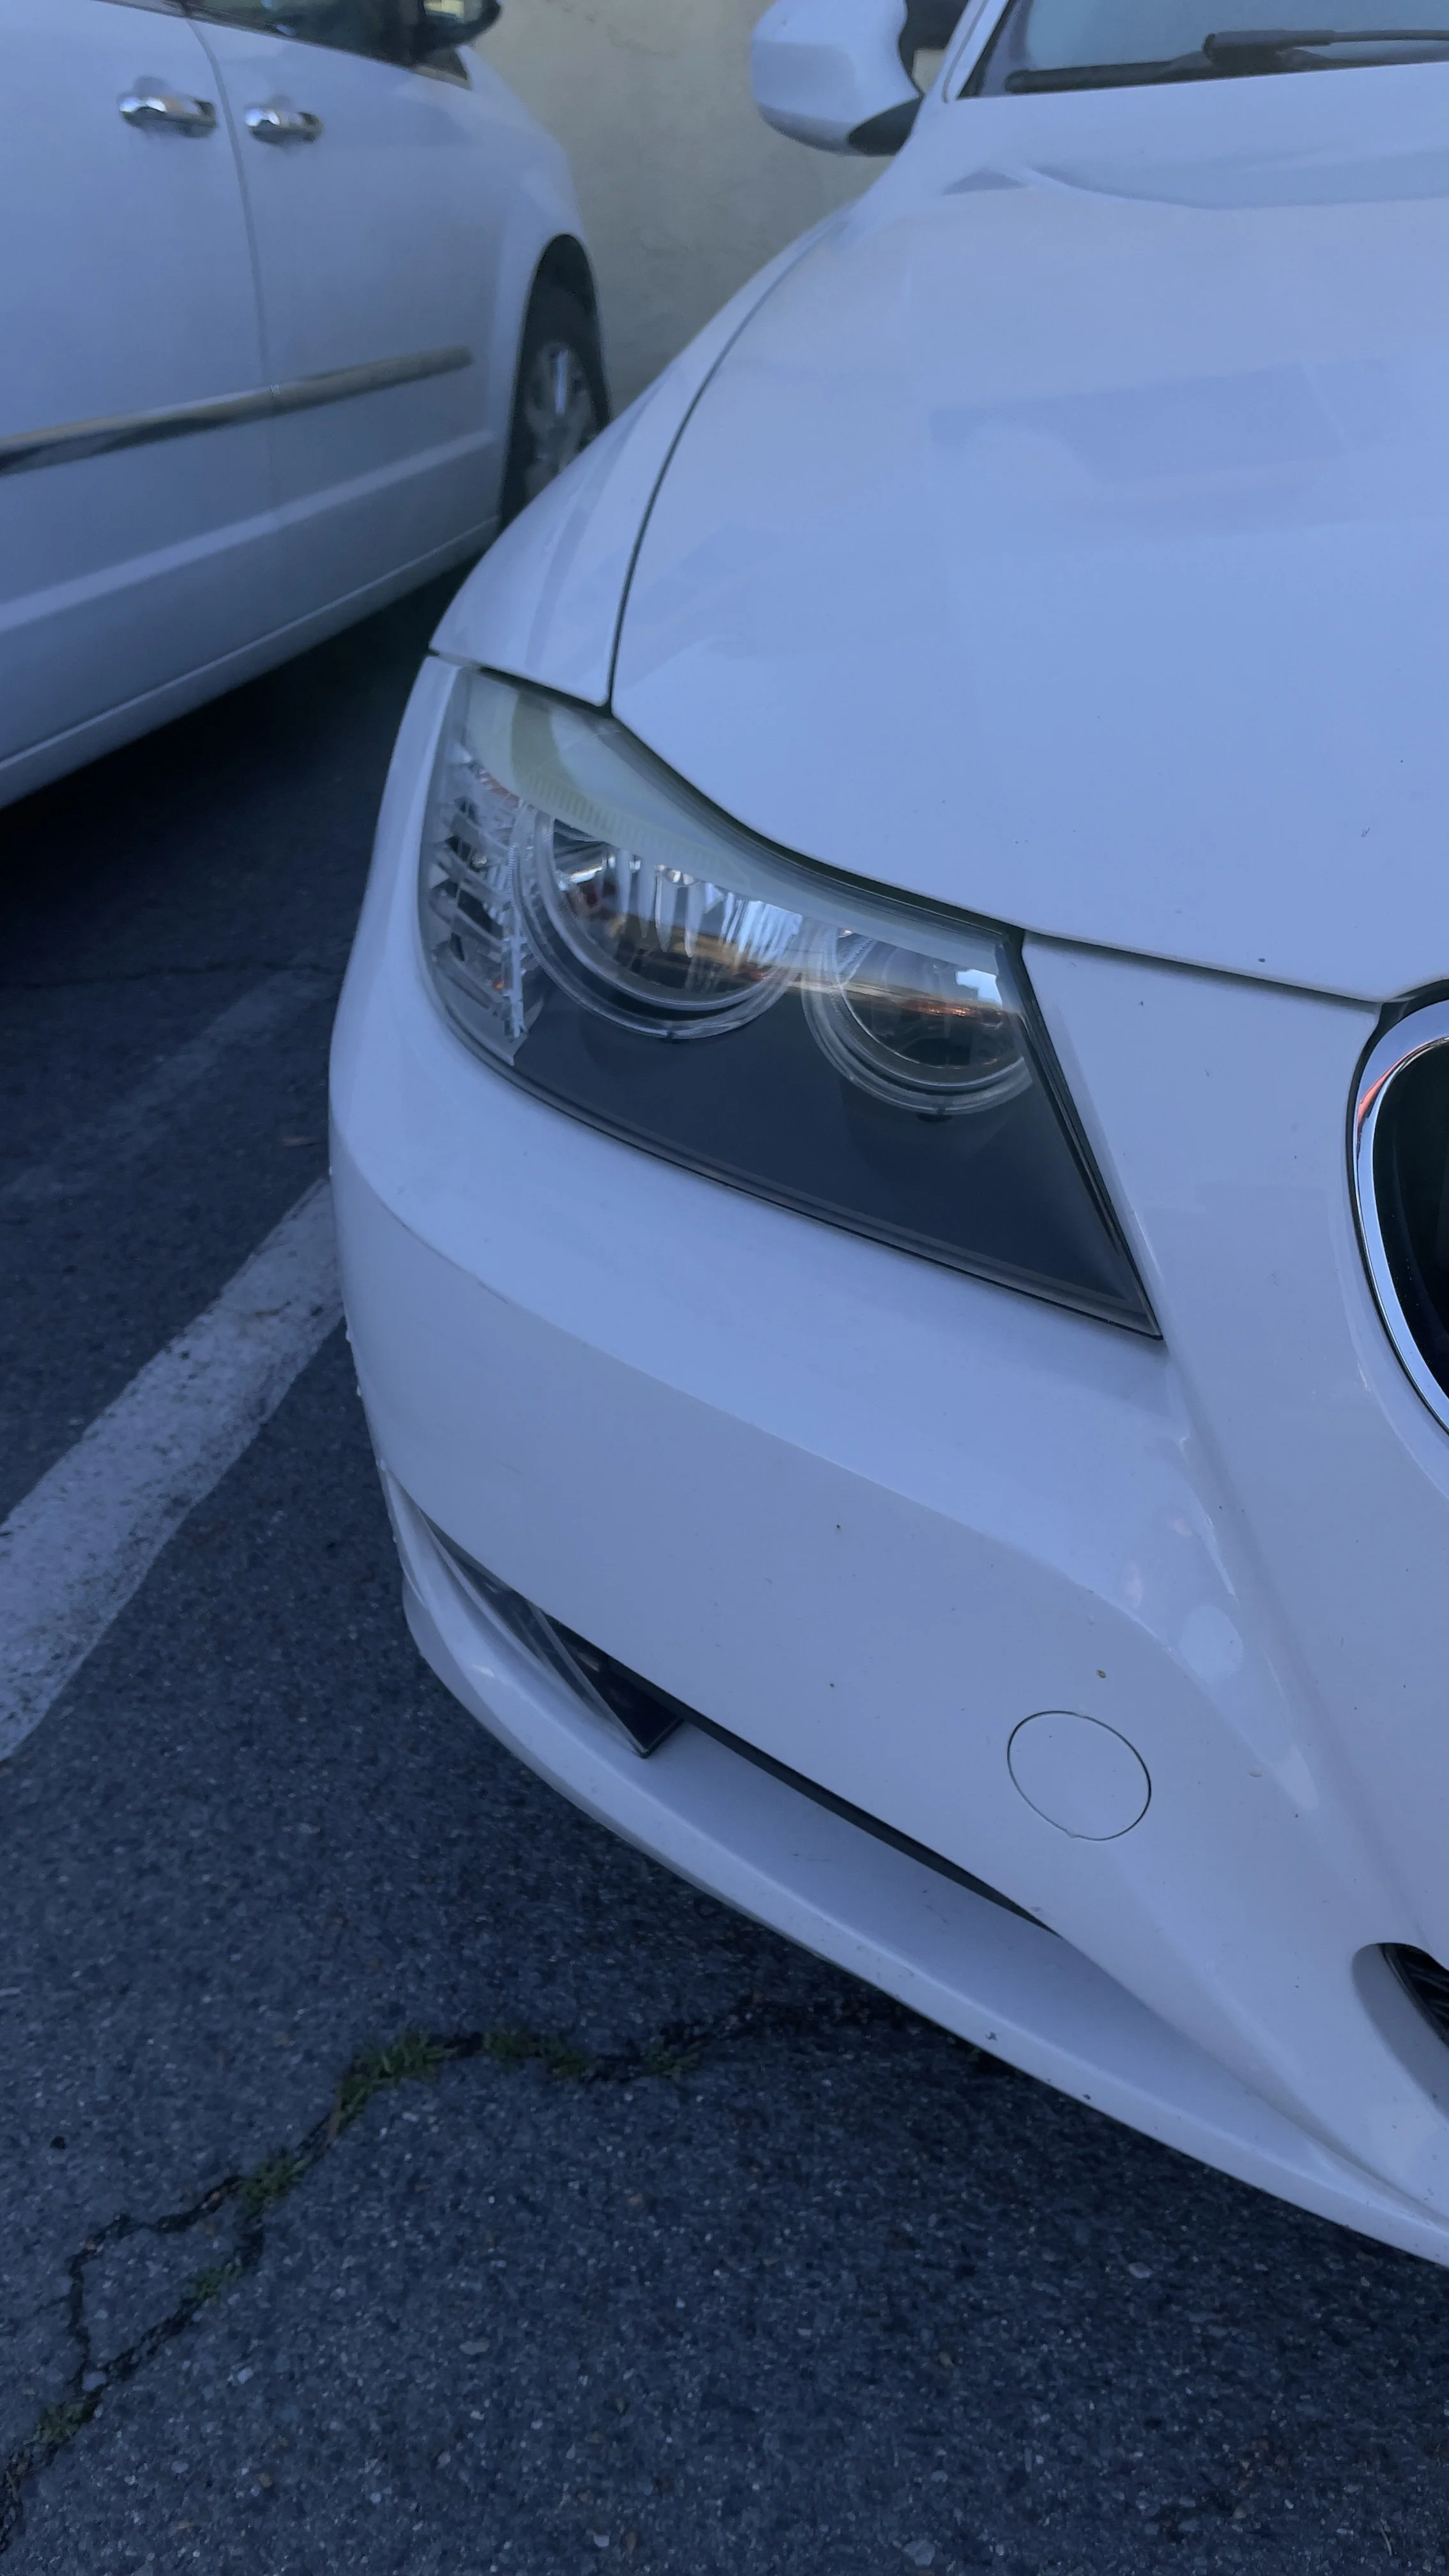
BEFORE AND AFTER HEADLIGHT RESTORATION
Conclusion: Maintaining Safe, Clear Headlights in San Diego
Headlight yellowing isn't just a cosmetic issue—it's a safety concern that affects your visibility and how well other drivers can see you. In San Diego's high-UV environment, headlight degradation happens faster than most other climates.
Professional restoration costs $99 for both headlights, lasts 12-24 months, and delivers the same visibility improvement as replacement headlights costing $400-6,000 depending on your vehicle.
Key takeaways:
UV exposure causes yellowing; San Diego's climate accelerates the process
Professional restoration includes critical UV protection that DIY kits skip
Restoration costs 4-10x less than replacement with the same results
Most vehicles can be restored 2-3 times before replacement becomes necessary
Safety and visibility matter more than appearance
Ready for professional headlight restoration? Fresh Layer Mobile Detailing provides mobile service throughout San Diego County. We come to your location—home, office, or anywhere convenient. Same-day and next-day appointments often available.
Book your $99 headlight restoration today: (619) 874-4115 Mobile service | 1-year warranty | BBB A+ rated | 2,000+ satisfied customers