Exterior Car Detailing Steps: Complete Guide for a Showroom Finish
Your car’s exterior faces constant assault from environmental contaminants, UV rays, road grime, and weather extremes. Without proper care, even the finest automotive paint can quickly deteriorate, losing its luster and protective qualities.
Understanding professional exterior car detailing steps transforms routine maintenance into an art form that preserves your vehicle’s value while delivering stunning visual results. Detailing can also be a therapeutic hobby for car enthusiasts, offering a rewarding way to connect with their vehicles.
Exterior car detailing encompasses far more than a simple wash and wax. Auto detailing is a comprehensive cleaning and restoration process that goes beyond regular car washing, focusing on both the appearance and protection of your vehicle.
It’s a systematic process that addresses every surface, from wheels to windows, using specialized techniques and products designed for automotive finishes. Using a clay bar treatment removes embedded contaminants, leaving the paintwork smooth and ready for further detailing steps. Maintaining your car exterior with the right tools and techniques is essential for achieving a professional, showroom-quality finish.
Car exterior detailing is the ultimate solution to not only rejuvenate your vehicle’s appearance but also protect it from wear and tear.

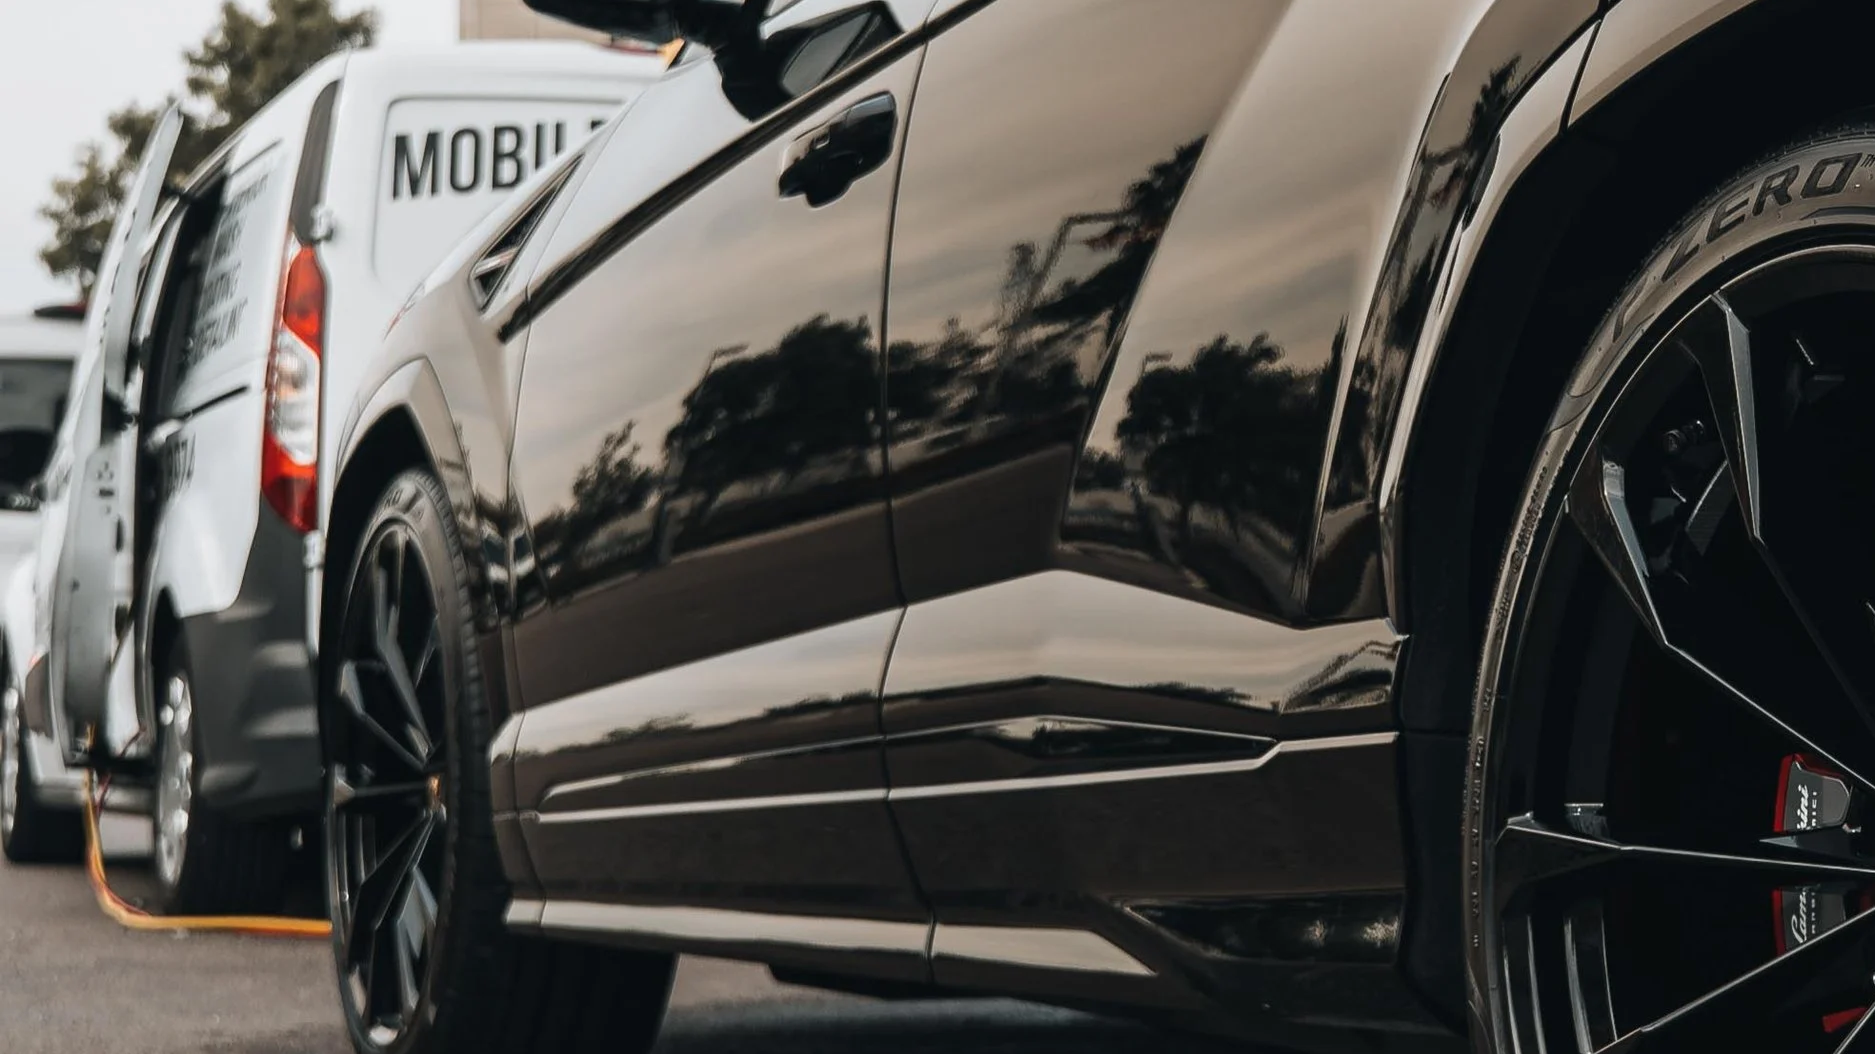
San Diego Car Exterior Detailng
In this guide, we’ll break down everything you need to know about car exterior detailing, provide expert answers to frequently asked questions, and give you professional tips on maintaining a showroom-worthy finish.
Whether you’re preparing for a car show, looking to boost resale value, or just love having a flawless ride, this guide is for you.
What is Car Exterior Detailing?
A. Definition and Importance
Car exterior detailing involves deep cleaning, polishing, and protecting the outside of your vehicle. Unlike a standard car wash, detailing addresses every aspect of the exterior, ensuring that your car remains in pristine condition.
Key Components: Exterior detailing typically includes washing, clay bar treatment, iron decontamination, polishing, waxing, and sealing.
Why It’s Important: Maintaining your car’s exterior extends its lifespan, prevents rust, enhances appearance, and maintains the car’s value.
B. Difference Between Car Wash and Exterior Detailing
A car wash removes surface dirt, while exterior detailing involves removing embedded contaminants, restoring shine, and applying a protective layer.
| Service | Car Wash | Exterior Detailing |
|---|---|---|
| Basic Cleaning | Yes | Yes |
| Paint Correction | No | Yes |
| Waxing & Sealing | Sometimes | Always |
| Contaminant Removal | No | Yes (Clay Bar Treatment) |
Key Steps in Exterior Detailing
A. Step-by-Step Exterior Detailing Process
Pre-Wash and Rinse: Rinsing helps to remove loose dirt and prevents scratching during the washing phase.
Hand Wash: Using a pH-balanced car shampoo and a two-bucket method ensures that no dirt gets trapped in your cleaning mitt, avoiding scratches.
Clay Bar Treatment: A clay bar is used to remove contaminants such as tar, bird droppings, and tree sap that cannot be removed by washing alone. This step restores the smoothness of the paint.
Paint Correction and Polishing: Polishing involves removing minor scratches, swirl marks, and oxidation to restore your car's original shine. For professional-grade results, a dual-action polisher can be used.
Waxing or Sealing: Waxing adds a protective layer that gives a deep gloss and shields your car from UV rays. Alternatively, a sealant offers longer-lasting protection.
Ceramic Coating (Optional): For superior protection, ceramic coating is a fantastic option that lasts up to five years, providing a hydrophobic barrier that repels dirt and contaminants.
| Step | Description |
|---|---|
| Pre-Wash & Rinse | Removes loose dirt to prevent scratches |
| Hand Wash | pH-balanced shampoo for gentle cleaning |
| Clay Bar Treatment | Removes embedded contaminants |
| Paint Correction | Removes swirls, oxidation, minor scratches |
| Waxing/Sealing | Adds shine and protection |
| Ceramic Coating | Superior long-term protection (optional) |
Pre-Detailing Inspection and Planning
Assessing Your Vehicle's Condition
Before beginning any detailing work, conduct a thorough inspection to identify specific issues requiring attention. This assessment guides your product selection, technique choices, and time allocation for optimal results.
Walk around the vehicle in good lighting, noting areas of heavy contamination, paint defects, or previous damage that might require special care. Always wash from the top down to minimize the risk of scratches and swirl marks on the paint, ensuring a thorough and safe cleaning process.
Examine the paint surface for swirl marks, scratches, oxidation, or etching from bird droppings and water spots. These defects determine whether simple washing suffices or if paint correction becomes necessary.
Check wheels for brake dust buildup, curb damage, or coating failure that might require specialized treatment. Inspect glass for water spots, wiper marks, or mineral deposits requiring dedicated removal techniques.
Environmental factors significantly influence detailing requirements. Vehicles exposed to coastal salt air need more frequent decontamination to prevent corrosion.
Cars parked under trees accumulate sap and organic contamination requiring specific removal products. Urban vehicles face industrial fallout and pollution demanding regular clay bar treatment. Understanding these factors helps establish appropriate maintenance schedules and product choices.
Creating Your Detailing Strategy
Professional detailing follows a logical sequence designed to maximize efficiency while preventing cross-contamination. This systematic approach ensures each step builds upon the previous one, avoiding the need to repeat work or risk damaging freshly cleaned surfaces.
Planning your approach before starting saves time and delivers superior results.
Start with the dirtiest areas—wheels and tires—to prevent brake dust and road grime from contaminating cleaner surfaces. Progress through pre-washing, contact washing, decontamination, correction (if needed), and protection application.
This sequence ensures contaminants are removed before they can cause damage during subsequent steps.
Weather conditions significantly impact detailing success. Avoid working in direct sunlight, which causes products to dry too quickly and can lead to water spots or product staining. Never clean or detail hot vehicle surfaces to prevent damage to the paint and finishes, ensuring optimal results.
Similarly, extreme temperatures affect product performance and working comfort. Ideal conditions include shade or overcast skies, moderate temperatures, and low wind to prevent airborne contamination during the process.
Clean the Wheels and Tires First
Why Wheels Require Priority Treatment
Professional detailers always begin with wheels and tires for compelling reasons beyond simple logic. Brake dust contains metallic particles that become corrosive when mixed with moisture, potentially damaging both wheel finishes and paint if allowed to spread during washing.
Starting with these areas contains this contamination, preventing it from affecting other surfaces during the detailing process.
Modern wheel designs create cleaning challenges with intricate spoke patterns, deep barrels, and hard-to-reach areas where contamination accumulates. This complexity demands dedicated tools including wheel woolies, barrel brushes, and detailing brushes in various sizes.
Quality wheel cleaners formulated for specific wheel types—whether painted, clear-coated, chrome, or anodized—ensure effective cleaning without surface damage.
The heat generated by braking systems bakes contamination onto wheel surfaces, creating stubborn deposits that regular car wash soap cannot remove. Professional wheel cleaners contain specialized ingredients that break down this baked-on contamination, allowing for safe removal without aggressive scrubbing that might damage delicate finishes.
Always verify product compatibility with your wheel type, as some aggressive cleaners can damage certain finishes or protective coatings.
Professional Wheel Cleaning Technique
Begin by rinsing wheels thoroughly to remove loose dirt and cool hot surfaces from recent driving. Apply wheel cleaner according to manufacturer directions, typically working one wheel at a time to prevent product from drying.
Allow appropriate dwell time for the cleaner to break down contamination—usually 30 seconds to 2 minutes depending on contamination severity.
Agitate the cleaner using appropriate brushes, starting with wheel faces and working into barrel areas. Soft-bristled brushes work well for delicate finishes, while stiffer brushes tackle heavy buildup on wheel barrels and suspension components.
Pay particular attention to lug nut recesses and valve stem areas where contamination accumulates. Wheel woolies excel at reaching behind spokes and into tight spaces traditional brushes cannot access.
Tire cleaning requires different products and techniques than wheels. Dedicated tire cleaners contain degreasers that remove old dressings, road grime, and browning from tire sidewalls.
Apply cleaner generously and agitate with a stiff tire brush, working in sections to ensure complete coverage. This thorough cleaning prepares tires for dressing application later in the detailing process, ensuring proper adhesion and appearance.
Pre-Wash to Minimize Contact
The Science of Pre-Washing
Pre-washing represents a critical safety step that many amateur detailers skip, not understanding its importance in preventing paint damage. This touchless cleaning phase removes the majority of loose contamination before any physical contact occurs, dramatically reducing the risk of inducing scratches or swirl marks during the contact wash phase.
The principle behind pre-washing involves using chemical cleaning agents and water pressure to lift and remove contamination without physical agitation. This approach proves especially important for vehicles with heavy contamination, where traditional washing would drag abrasive particles across the paint surface.
Professional detailers understand that preventing damage is far easier and more cost-effective than correcting it later.
Fresh Layer Mobile Detailing emphasizes pre-washing as a non-negotiable step in our exterior detailing process. We've seen countless vehicles with swirl marks and scratches caused by improper washing techniques, damage that could have been prevented with proper pre-washing.
This preventive approach protects your investment while ensuring the highest quality results.
Snow Foam Application Techniques
Snow foam has revolutionized the pre-wash process, providing superior cleaning power and surface coverage compared to traditional pre-wash methods. This thick, clingy foam dwells on surfaces longer than regular soap, allowing more time for cleaning agents to break down contamination.
The foam's structure also provides mild mechanical cleaning action as it slowly slides down vertical surfaces.
Proper foam lance setup and product dilution prove crucial for optimal results. Most quality snow foams require dilution ratios between 1:5 and 1:10 with warm water, though this varies by product and foam lance design.
Fill the foam lance bottle with the appropriate product amount, then add warm water to achieve proper dilution. Warm water enhances cleaning power and helps create thicker, longer-lasting foam.
Apply snow foam systematically, starting from the bottom and working upward to ensure complete coverage. This bottom-up approach ensures maximum dwell time on lower panels where contamination typically concentrates.
Allow foam to dwell for 5-10 minutes, watching for signs of contamination running off with the foam. Avoid letting foam dry completely, as this can leave residue requiring additional cleaning effort.
Contact Wash Using the Two-Bucket Method
Understanding the Two-Bucket System
The two-bucket method represents the gold standard for safe contact washing, virtually eliminating the risk of reintroducing contamination to clean paint. This system uses separate buckets for rinse water and wash solution, ensuring only clean wash media contacts your paint surface.
Combined with grit guards in each bucket, this method provides maximum protection against wash-induced marring.
Setting up the two-bucket system requires minimal additional investment but provides substantial protection benefits. Fill one bucket with clean rinse water and another with properly diluted car shampoo solution.
Install grit guards in both buckets—these specialized inserts trap contamination at the bucket bottom, preventing it from being picked up again by your wash media.
The rinse bucket serves as your first stop after each panel section, where you thoroughly rinse your wash mitt to release trapped contamination. The wash bucket provides fresh, clean solution for the next section.
This systematic approach means contamination removed from your vehicle stays in the rinse bucket rather than being spread across other panels.
Professional Washing Techniques
Proper wash mitt selection significantly impacts washing safety and effectiveness. High-quality microfiber or lambswool mitts provide superior cleaning ability while minimizing the risk of marring.
Their deep pile traps contamination away from the paint surface, unlike flat sponges that drag particles directly across paint.
Execute the contact wash systematically, starting with the cleanest areas (typically the roof and upper panels) and progressing to dirtier lower sections. Use straight-line motions rather than circular patterns, as this approach makes any induced marring less noticeable and easier to correct if necessary.
Work in manageable sections, rinsing your mitt frequently to prevent contamination buildup.
Pressure control during washing proves as important as technique. Let the weight of the wet mitt do most of the work, adding only light pressure where needed for stubborn contamination.
Aggressive scrubbing rarely improves cleaning but significantly increases marring risk. If contamination won't remove with normal washing, it likely requires chemical decontamination or clay bar treatment rather than more aggressive washing.
Paint Decontamination Process
Chemical vs. Mechanical Decontamination
Paint decontamination addresses bonded contaminants that washing cannot remove, restoring smooth paint texture and preparing surfaces for protection products. This crucial step often separates amateur from professional results, as contaminated paint cannot achieve optimal gloss or protection adhesion.
Understanding when and how to perform decontamination ensures safe, effective results.
Chemical decontamination uses specialized products that react with specific contaminants, breaking them down for easy removal. Iron fallout removers target metallic contamination from brake dust and rail dust, turning purple as they react with iron particles.
Tar removers dissolve petroleum-based contaminants from road tar and asphalt. These products work without physical contact, making them ideal for initial decontamination stages.
Mechanical decontamination employs clay bars or synthetic clay alternatives to physically remove stubborn contamination. This process requires proper lubrication and technique to prevent marring while effectively removing bonded particles.
Professional detailers often combine chemical and mechanical methods for thorough decontamination, using chemicals first to reduce the mechanical effort required.
Clay Bar Treatment Techniques
Clay bar treatment demands careful attention to technique and safety. Always work on clean, cool paint using abundant clay lubricant to ensure smooth gliding action.
Divide your clay into manageable pieces, keeping unused portions clean for later use. Knead clay frequently to expose fresh surfaces and encapsulate removed contamination.
Work in small sections approximately 2 feet square, applying liberal amounts of lubricant before gently gliding clay across the surface. You'll feel contamination as roughness or resistance, which gradually disappears as the clay removes bonded particles.
Continue until the clay glides smoothly without catching, indicating successful decontamination.
Monitor clay condition constantly, folding frequently to expose clean surfaces. Heavily contaminated clay should be discarded rather than risk redistributing contamination.
If you drop clay, discard it immediately—ground contamination will severely scratch paint. This safety-first approach protects your paint while ensuring thorough decontamination.
Drying Techniques for Spot-Free Results
The Importance of Proper Drying
Drying represents a critical yet often rushed stage where improper technique can undo careful washing work. Water spots form when minerals in water evaporate, leaving deposits that can etch into paint if left unaddressed.
Proper drying techniques prevent these issues while providing an opportunity to inspect your work and identify any areas requiring additional attention.
Microfiber drying towels specifically designed for automotive use provide superior absorption and safety compared to traditional chamois or terry cloth towels. Quality drying towels feature deep pile construction that pulls water away from paint surfaces while providing a buffer against potential marring.
Avoid using the same towels for drying that you use for other detailing tasks, as cross-contamination can introduce abrasives.
Fresh Layer technicians employ specific drying sequences that ensure complete water removal without risk of marring or spotting. We understand that different paint types and protection levels require adjusted techniques, from traditional wax coatings that sheet water to ceramic coatings that create tight water beads.
This expertise ensures spot-free results regardless of surface conditions.
Professional Drying Methods
Begin drying from the top down, allowing gravity to assist water removal while preventing re-wetting of dried areas. Use a combination of patting and gentle dragging motions rather than aggressive wiping, which can induce marring on soft paint.
For initial water removal, many professionals use compressed air or specialized car dryers to blow water from crevices and trim pieces.
The "drop and drag" method provides safe, efficient drying for large panels. Lay your drying towel flat on the surface and gently pull it across, allowing the towel's weight and absorption to remove water without pressure.
Flip to dry sides frequently and use multiple towels to prevent oversaturation, which reduces effectiveness and increases marring risk.
Pay special attention to areas where water accumulates: mirror housings, door handles, fuel doors, and trim pieces. These areas often release trapped water after initial drying, creating runs and spots on clean panels.
Using compressed air or detail brushes to remove trapped water before final drying prevents these frustrating issues.
Paint Correction: Removing Imperfections
Understanding Paint Defects
Paint correction addresses various defects that accumulate through normal use and improper care. Swirl marks, those circular scratches visible in direct light, typically result from improper washing or drying techniques.
Spider webbing, buffer trails, and holograms indicate previous machine polishing performed incorrectly. Water spots, bird dropping etching, and oxidation represent environmental damage requiring correction.
Assessing defect severity determines appropriate correction methods. Light defects affecting only the clear coat's surface respond well to mild polishing.
Deeper scratches penetrating through clear coat into base coat may require more aggressive approaches or professional wet sanding. Damage reaching primer or metal requires repainting rather than correction, making proper assessment crucial before beginning work.
Professional paint thickness readings guide safe correction approaches. Modern paint systems are surprisingly thin, with total thickness often measuring just 4-6 mils (thousandths of an inch).
Clear coat typically represents only 1.5-2 mils, limiting how much material can be safely removed through polishing. Understanding these limitations prevents aggressive correction that could compromise paint integrity.
Machine Polishing Techniques
Machine polishing provides consistent, efficient results compared to hand polishing, but requires proper equipment and technique to avoid creating new defects. Dual-action polishers offer the best balance of correction ability and safety for most users, providing effective defect removal with reduced risk of burning through paint compared to rotary polishers.
Selecting appropriate pad and compound combinations proves crucial for successful correction. Cutting compounds paired with firm pads tackle heavy defects, while finishing polishes on soft pads refine the surface to maximum gloss.
Start with the least aggressive combination that addresses your defects, as you can always step up aggressiveness if needed but cannot replace removed clear coat.
Work systematically in manageable sections, typically 2 feet square, with overlapping passes ensuring complete coverage. Proper machine speed, pressure, and technique prevent heat buildup that can damage paint.
Monitor your progress frequently using proper lighting to verify defect removal and identify any technique adjustments needed.
Applying Paint Protection
Choosing Protection Products
Paint protection products have evolved dramatically, offering options from traditional carnauba waxes to advanced ceramic coatings. Each category provides different benefits, durability, and application requirements.
Understanding these differences helps select products matching your needs, skill level, and maintenance commitment.
Traditional car waxes, particularly those containing carnauba, provide warm glow and depth particularly stunning on darker colors. However, durability typically measures in weeks rather than months, requiring frequent reapplication.
Synthetic sealants offer extended durability—often 3-6 months—with easier application and removal. These products excel for those seeking reasonable protection with moderate maintenance requirements.
Ceramic coatings represent the pinnacle of consumer-grade protection, offering years of durability with proper maintenance. These products create a semi-permanent barrier protecting against UV rays, chemical etching, and minor scratches.
However, application demands perfect preparation, controlled environment, and precise technique for optimal results. Fresh Layer professionals receive extensive training in ceramic coating application, ensuring flawless results that maximize protection longevity.
Protection Application Techniques
Regardless of product choice, proper application ensures maximum protection and appearance. Surface preparation proves paramount—protection products cannot hide defects and will actually highlight imperfections by increasing gloss and clarity.
Ensure paint is completely clean, decontaminated, and corrected as needed before protection application.
Apply products in controlled environments avoiding direct sunlight, extreme temperatures, and high humidity. These conditions affect product behavior, potentially causing premature drying, streaking, or improper bonding.
Work in small sections using appropriate applicators, whether foam pads for liquid products or specialized applicators for paste waxes.
Follow manufacturer instructions precisely regarding application thickness, dwell time, and removal technique. Over-application wastes product and complicates removal without improving protection.
Under-application may result in incomplete coverage and reduced durability. Proper technique ensures even coverage and optimal protection performance.
Glass and Window Perfection
Professional Glass Cleaning Approach
Crystal-clear glass enhances both vehicle appearance and safety, yet many detailers struggle with streak-free results. Professional techniques combined with proper products ensure perfect clarity without frustration.
Understanding glass contamination types and removal methods provides the foundation for consistent results.
Glass surfaces accumulate unique contamination including water spots, traffic film, wiper blade residue, and interior off-gassing haze. Each requires specific approaches for complete removal.
Water spots from minerals may require mild acids or specialized removers. Interior haze from plastics off-gassing demands different cleaners than exterior contamination.
Professional glass preparation often includes clay bar treatment to remove bonded contamination invisible to the eye but affecting clarity and wiper performance. This step, frequently overlooked by amateurs, dramatically improves final results and allows rain repellent products to bond properly for maximum effectiveness.
Achieving Streak-Free Results
The two-towel method provides consistent streak-free results. Use one towel to apply and spread glass cleaner, then immediately follow with a second clean, dry towel for final buffing.
This approach prevents cleaner residue from drying and causing streaks while ensuring complete product removal.
Work on cool glass in shaded areas when possible, as hot surfaces cause rapid evaporation leading to streaking. Clean interior and exterior surfaces separately to avoid cross-contamination.
For interior surfaces, use minimal product to prevent overspray on dashboards and trim pieces.
Quality makes a significant difference in glass cleaning results. Professional-grade glass cleaners cut through contamination more effectively than household products while leaving no residue.
Specialized glass towels with appropriate texture provide streak-free results that standard microfiber cannot match. These investments pay dividends through reduced effort and superior results.
Finishing Touches: Tires and Trim
Tire Dressing Application
Properly dressed tires complete the detailed appearance while providing UV protection against cracking and fading. However, incorrect application creates sling onto paint and attracts excessive dirt.
Professional techniques ensure attractive, long-lasting results without these common issues.
Begin with thoroughly cleaned and dried tires. Old dressing layers must be completely removed for proper adhesion of new products.
Apply dressing to an applicator pad rather than directly to the tire, ensuring controlled, even application. Work product into tire sidewalls using consistent motions, avoiding excess that pools in tire lettering.
Product choice significantly impacts results and maintenance. Water-based dressings provide natural appearance with minimal sling but require more frequent application.
Solvent-based products offer extended durability and higher gloss but demand careful application to prevent sling. Allow adequate drying time before driving, regardless of product type.
Trim Restoration and Protection
Exterior trim pieces require specialized care to maintain deep black appearance and prevent fading. Modern vehicles use various plastic and rubber compounds, each responding differently to UV exposure and environmental factors.
Professional trim products restore faded pieces while providing ongoing protection.
Clean trim thoroughly before treatment, removing wax residue and contamination that prevents proper adhesion. Apply trim products sparingly with appropriate applicators, working into textured surfaces for complete coverage.
Remove excess immediately to prevent streaking on adjacent surfaces.
Long-term trim care involves regular cleaning and protection rather than relying on heavy restoration products. Quality trim coatings can provide months of protection with proper application, maintaining factory appearance while preventing premature aging.
This preventive approach proves more effective than attempting restoration after severe fading occurs.
Professional vs. DIY Detailing
When to Choose Professional Services
While DIY detailing can be rewarding, certain situations warrant professional expertise. Complex paint correction, ceramic coating application, and severe contamination removal require specialized tools, products, and experience for safe, effective results.
Understanding these boundaries protects your investment while ensuring optimal outcomes.
Time constraints often make professional services the practical choice. Proper exterior detailing requires several hours even for experienced individuals.
Factor in product research, shopping, and storage, and professional services become increasingly attractive for busy individuals. Fresh Layer's mobile service eliminates travel time while providing professional results at your location.
Vehicle value and condition influence the DIY versus professional decision. High-value vehicles deserve professional care to protect their worth.
Similarly, older vehicles with delicate paint may require expertise to avoid damage during correction processes. Professional detailers carry insurance and stand behind their work, providing peace of mind DIY cannot match.
Maintenance Schedule and Tips
Establishing Your Routine
Maintaining professional detailing results requires consistent care adapted to your specific situation. Driving conditions, storage arrangements, and local environment significantly influence maintenance needs.
Understanding these factors helps establish routines that preserve your vehicle's appearance efficiently.
Weekly maintenance for daily drivers should include thorough rinsing to remove accumulated contamination before it bonds to surfaces. Bi-weekly washing using proper techniques prevents contamination buildup requiring aggressive cleaning.
Monthly inspections identify developing issues before they require extensive correction.
Seasonal considerations affect maintenance requirements and product choices. Spring addresses winter salt and grime accumulation. Summer requires increased attention to bug removal and UV protection.
Fall prepares for harsh winter conditions with thorough decontamination and protection application. Winter demands gentle approaches avoiding frozen surfaces while maintaining cleanliness.
Quick Maintenance Tips
Waterless or rinseless washing products enable maintenance between traditional washes, particularly useful during water restrictions or apartment living. These products safely remove light contamination when used properly with adequate lubrication and frequent towel changes.
Spot cleaning addresses contamination before it causes damage. Bird droppings, bug splatter, and tree sap require prompt removal to prevent etching.
Keep appropriate cleaners and towels accessible for quick response to these issues.
Protection maintenance extends coating life significantly. Regular application of spray sealants or coating toppers renews protection and enhances appearance.
These products apply quickly during drying, adding minimal time while providing substantial benefits.
Benefits of Car Exterior Detailing
A. Enhanced Aesthetic Appeal
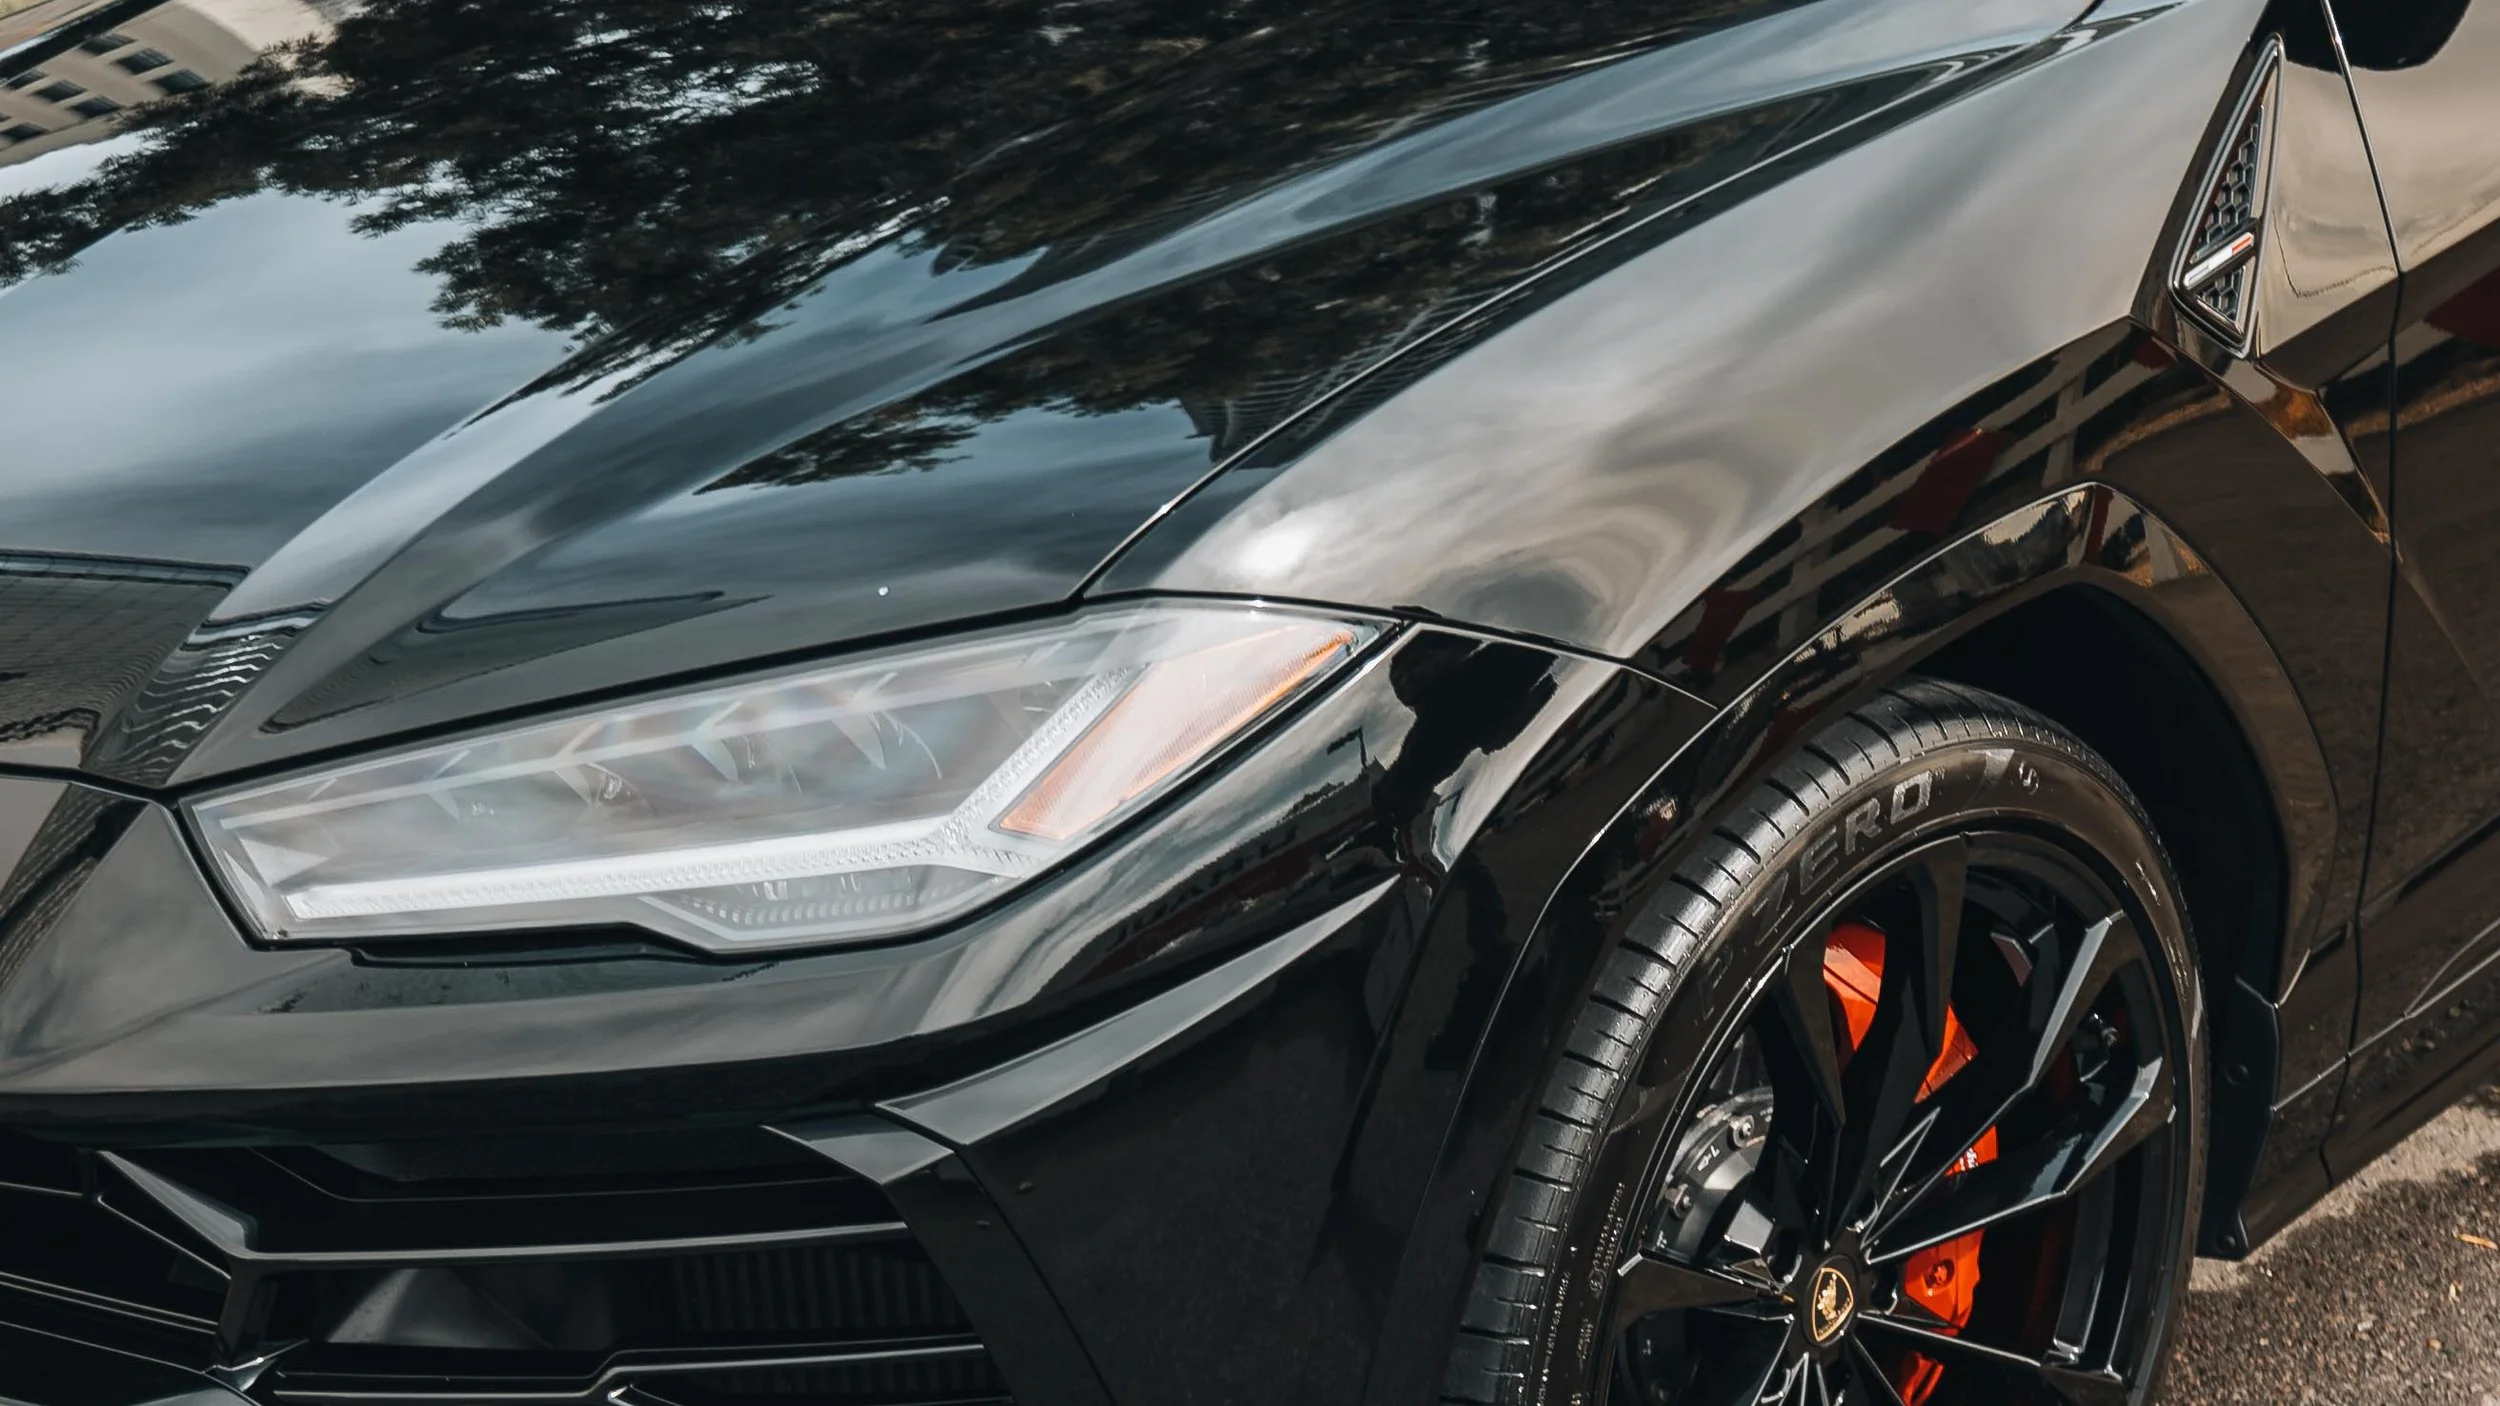
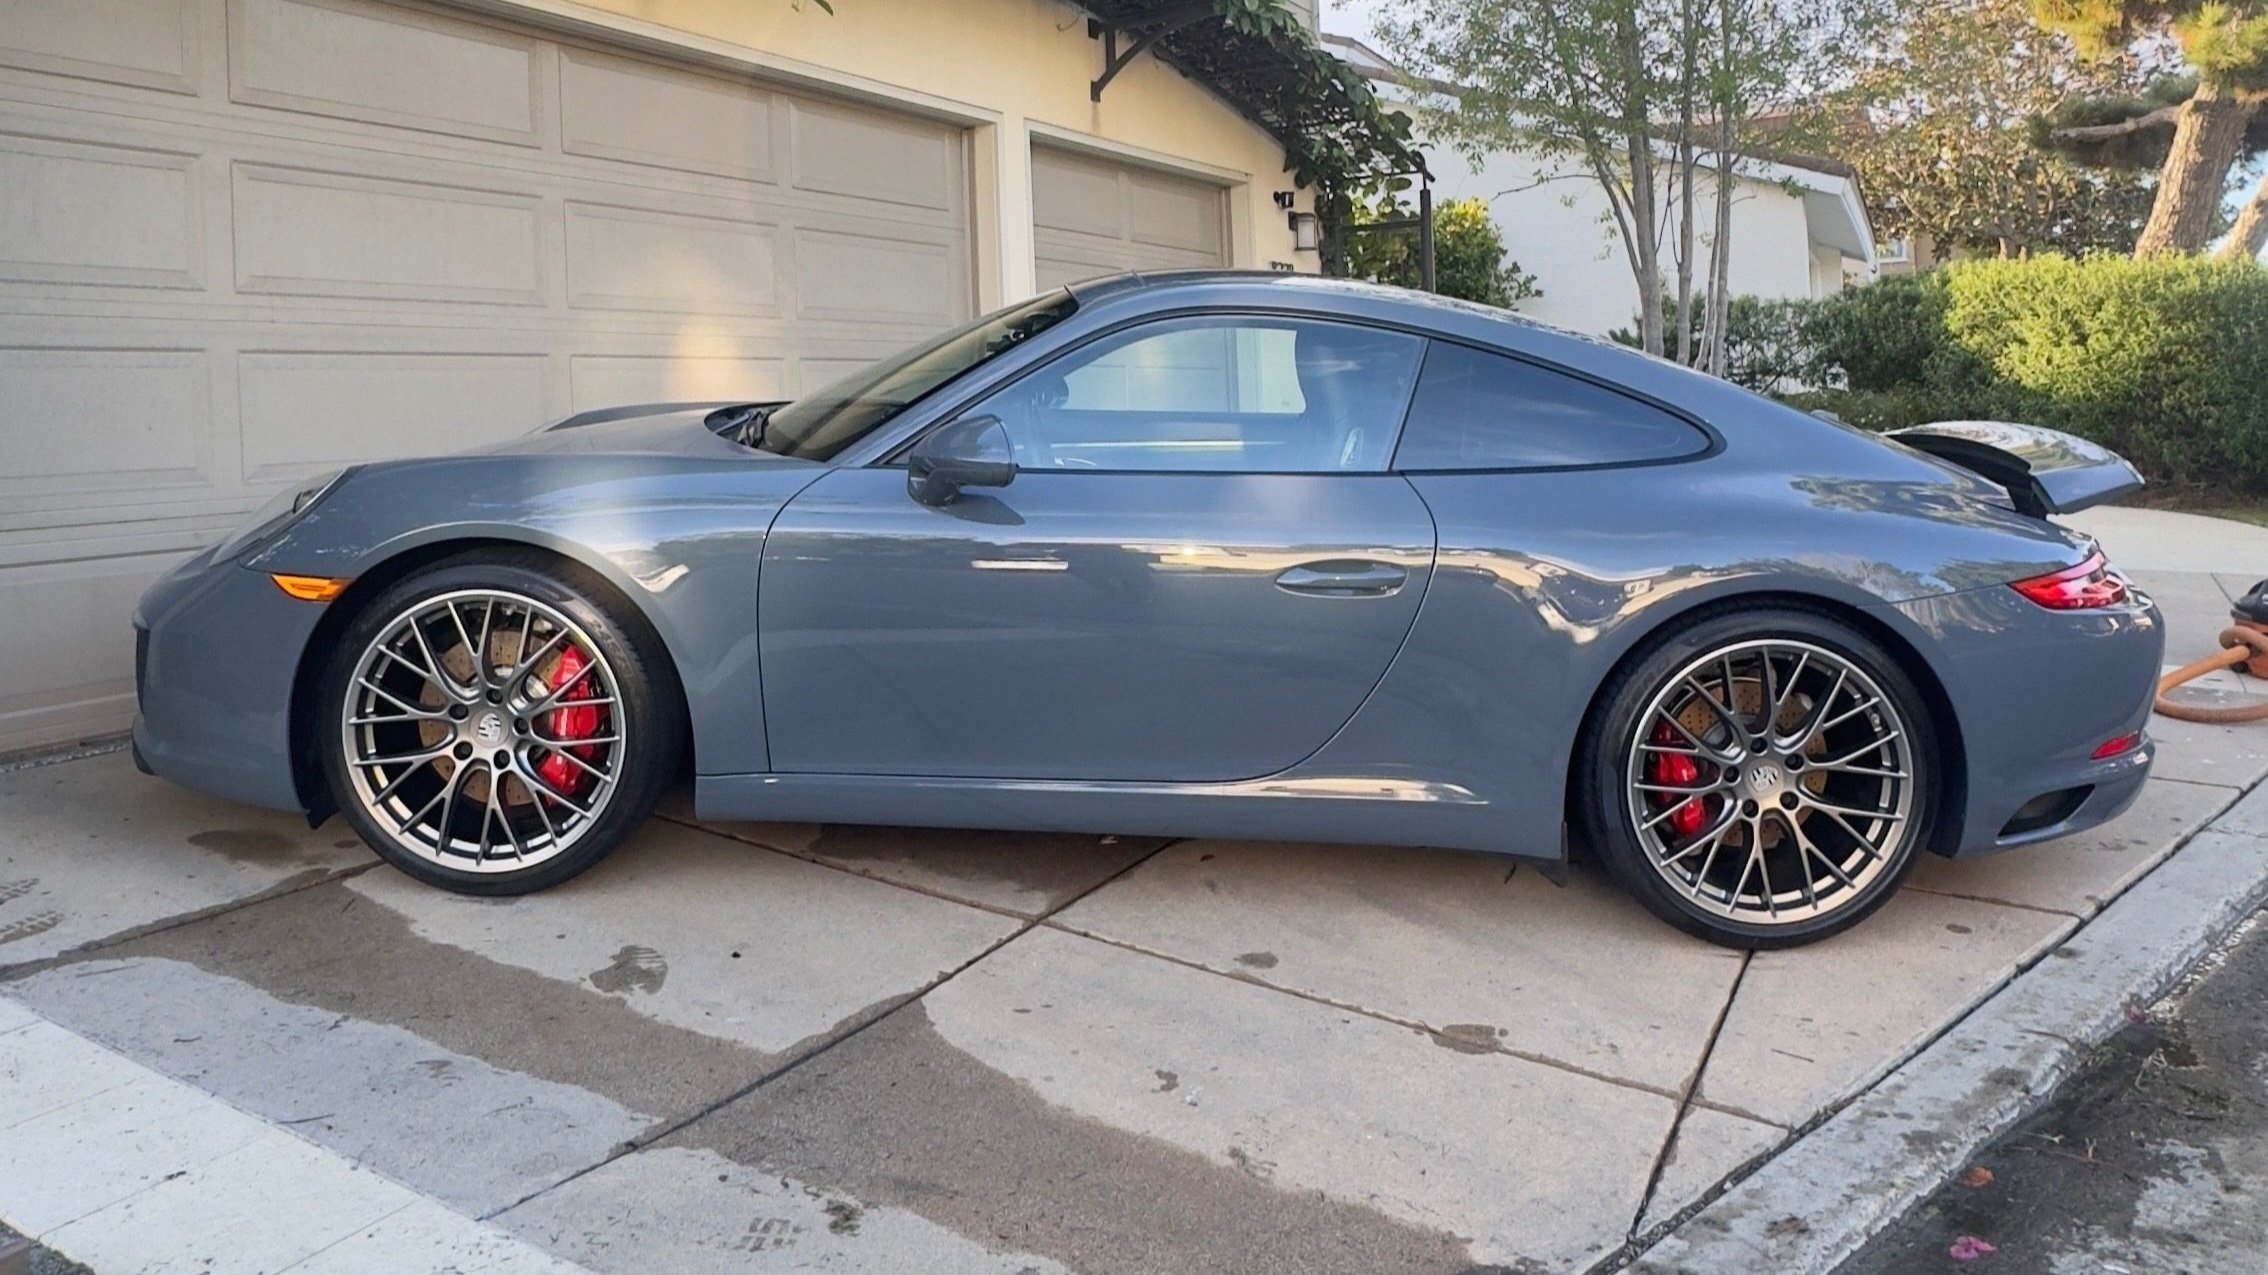
Deep Gloss Finish: Polishing and waxing help achieve a glossy, mirror-like finish that makes your car look brand new.
Restores Paint Quality: Paint correction eliminates swirls and scratches, restoring the car's flawless look.
B. Protection Against Environmental Damage
UV Rays: Prolonged exposure to the sun can fade paint. Detailing products like wax or ceramic coatings offer UV protection, preserving your car’s color.
Contaminant Shield: By sealing the paint, you protect it from bird droppings, salt, acid rain, and pollutants that can cause damage over time.
C. Increased Resale Value
Maintain Vehicle Value: A well-detailed exterior helps maintain or even increase the resale value of your car. Buyers are willing to pay a premium for a car that looks well-maintained.
Exterior Car Detailing Cost
The cost of exterior car detailing can vary based on the level of service.
Basic packages typically range from $250 to $400, while more advanced services, including paint correction and ceramic coatings, can range from $500 to $1500. Fresh Layer Mobile Detailing offers competitive rates in San Diego to suit all budgets.
Frequently Asked Questions About Car Exterior Detailing
-
Ideally, every 4-6 months. Factors like climate, usage, and exposure to elements will influence frequency.
San Diego Drivers: Due to increased exposure to sun and salt, detailing may be needed more frequently to ensure proper protection.
-
Duration: A full exterior detail takes between 3-6 hours depending on the size of the car and the level of services provided.
-
pH-neutral Car Shampoo: Meguiar’s Gold Class and Chemical Guys Mr. Pink.
Polishing Compounds: Menzerna Super Finish or 3M Perfect-It.
Wax or Sealant: Carnauba Wax for high gloss, or Meguiar’s Ultimate Liquid Wax for longer protection.
Common Mistakes to Avoid
Washing and Drying Errors
Circular washing motions create swirl patterns that become visible in direct light. Always use straight-line motions that make any induced marring less noticeable.
Similarly, aggressive pressure during washing rarely improves cleaning but significantly increases damage risk.
Using dirty tools spreads contamination rather than removing it. Wash mitts, towels, and applicators require proper cleaning and storage between uses.
Dedicated tools for specific tasks prevent cross-contamination—never use wheel brushes on paint or tire applicators on trim.
Allowing products to dry on surfaces creates difficult removal and potential staining. Work in appropriate sections, removing products before they dry.
This proves especially critical in hot weather or direct sunlight where rapid drying occurs.
Product Application Mistakes
Over-application wastes product while complicating removal and potentially causing streaking or residue. More product rarely equals better results—proper technique matters more than quantity.
Follow manufacturer recommendations for optimal outcomes.
Mixing incompatible products can cause chemical reactions damaging surfaces or preventing proper performance. Allow complete removal of one product before applying another, particularly when switching between different protection types.
Skipping preparation steps compromises all subsequent work. Protection products cannot hide defects and actually highlight imperfections.
Proper cleaning, decontamination, and correction as needed ensures protection products perform optimally.
Conclusion
Car exterior detailing is more than a cosmetic luxury; it’s a necessity for anyone who values their vehicle. From clay bar treatments to ceramic coatings, maintaining your car’s exterior involves a series of meticulous steps that provide aesthetic and protective benefits.
Regular detailing not only enhances your car’s appearance but also extends its lifespan and helps retain its value.
By avoiding common mistakes, choosing the right products, and understanding the difference between DIY and professional detailing, you can keep your car looking flawless.
Fresh Layer Mobile Detailing - San Diego’s Trusted Solution
For those in the San Diego area, Fresh Layer Mobile Detailing offers premium car exterior detailing services designed to bring out the best in your vehicle. With our expertise, top-of-the-line products, and attention to detail, we’re committed to keeping your car looking showroom-ready.
Ready to elevate your car's exterior to a whole new level? Contact Fresh Layer Mobile Detailing today to schedule your next detailing service and see why we're the trusted choice for car enthusiasts in San Diego